3D Printed Bridge
d. bodnar revised 08-26-14
Introduction
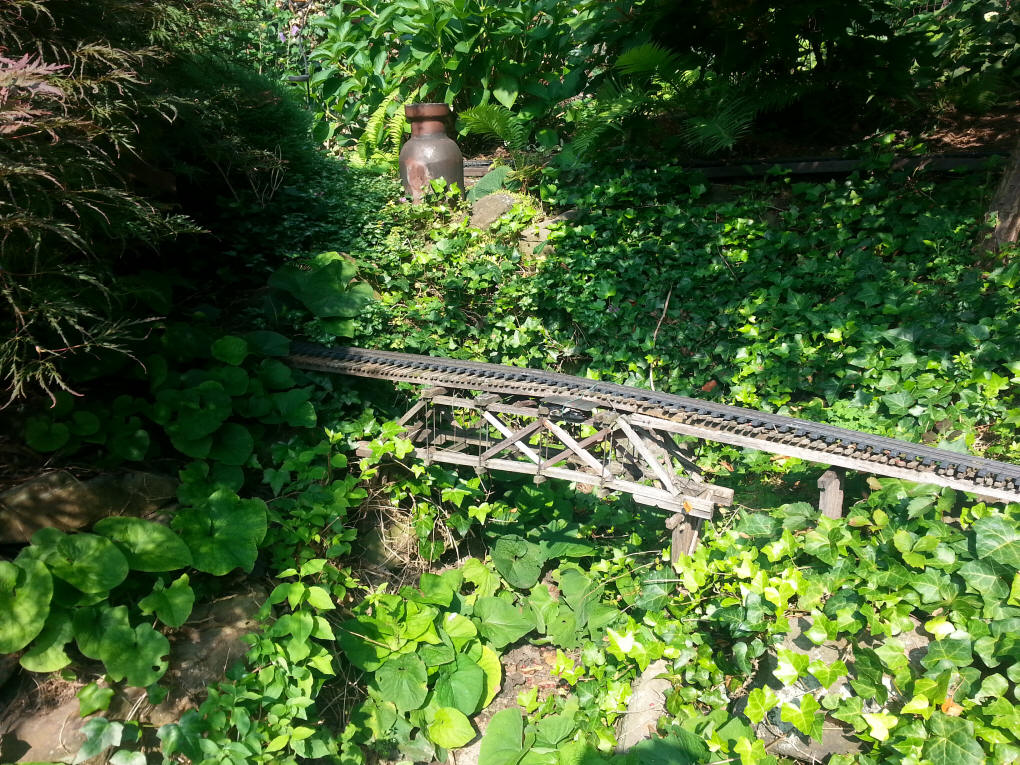
I built a wood bridge for my garden railroad in 2003. (see
http://davebodnar.com/railway/ for
more photos)
It has been out in the weather for well over a decade and is showing its age. I rebuilt parts of it in 2013 but it really needed to be replaced.
Rebuilding in wood was certainly an option but I opted for something that I could make with my 3D printing equipment.
The Design
The span of the wood bridge is over 40" and the larger of the two printers
that I have is limited to a build size of 6"x 6" x 9". This made it
obvious to me that I would have to fabricate something in sections that could be
glued together to make the length I needed.
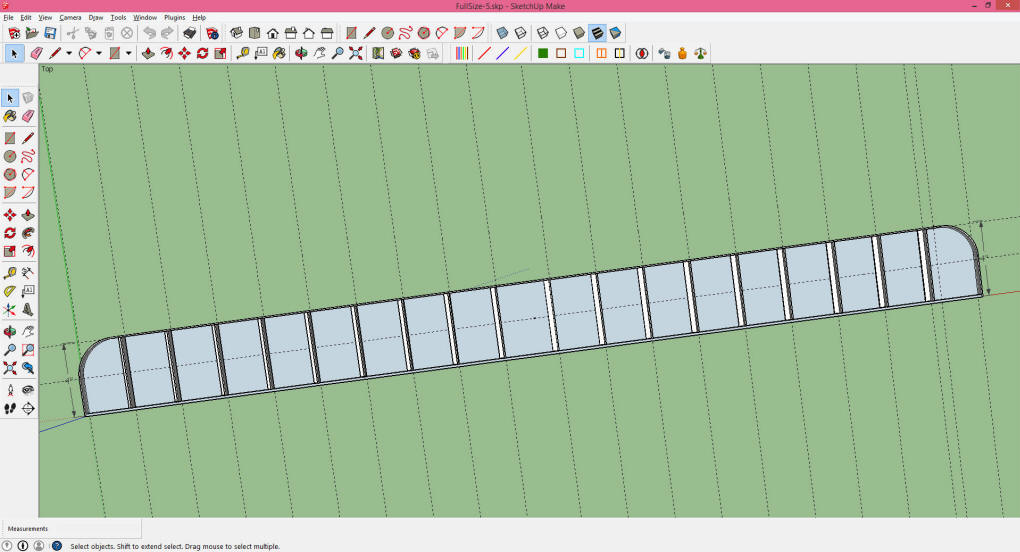
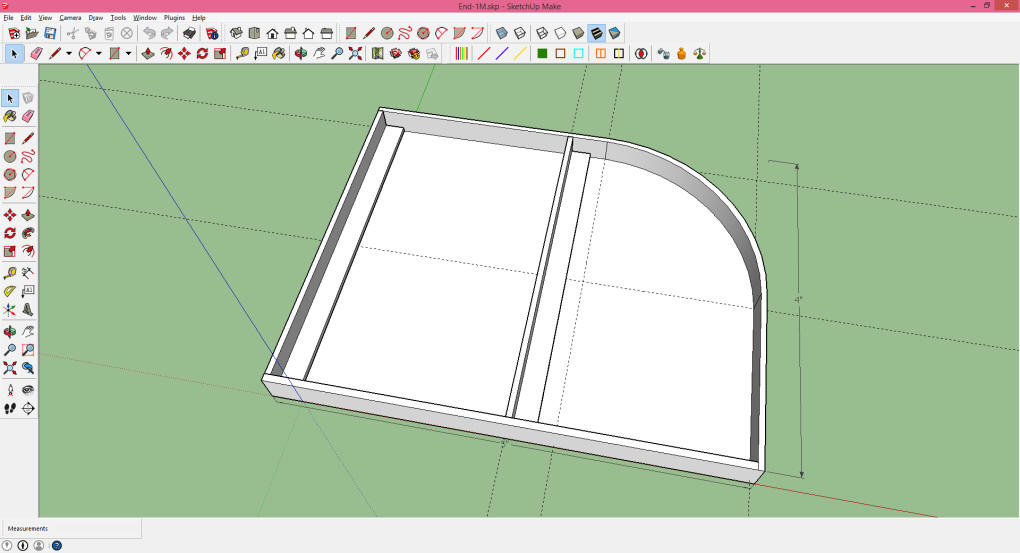
A bit of research found a number of photos and plans for a steel girder bridge that I thought would look nice and could be broken into sections for printing. I used these ideas and drew a rough sketch using SketchUP, a free 3D design program.
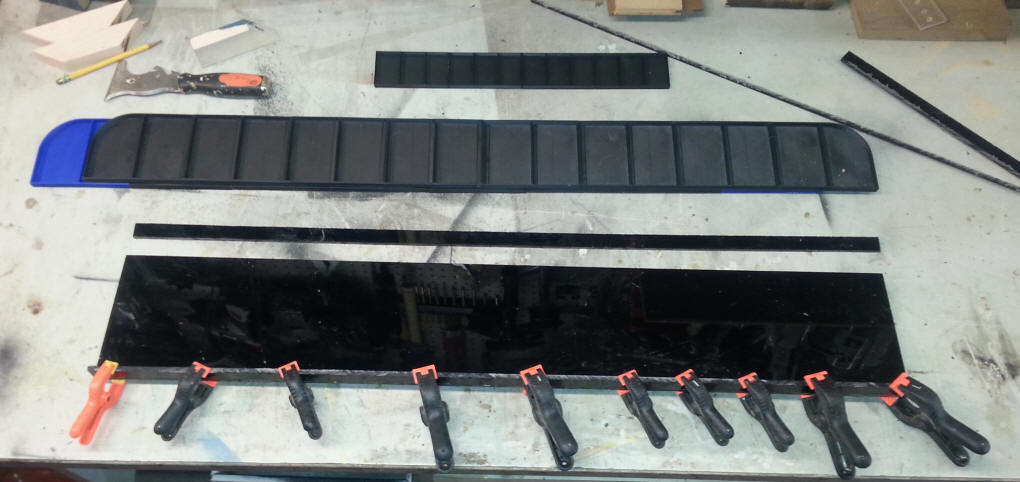
The main deck of the bridge is made of a piece of 1/4" Plexiglas. That, along with some Plexiglas side supports, add to the rigidity of the bridge. I can also add aluminum angle under the deck if it sags.
Getting Ready to Print
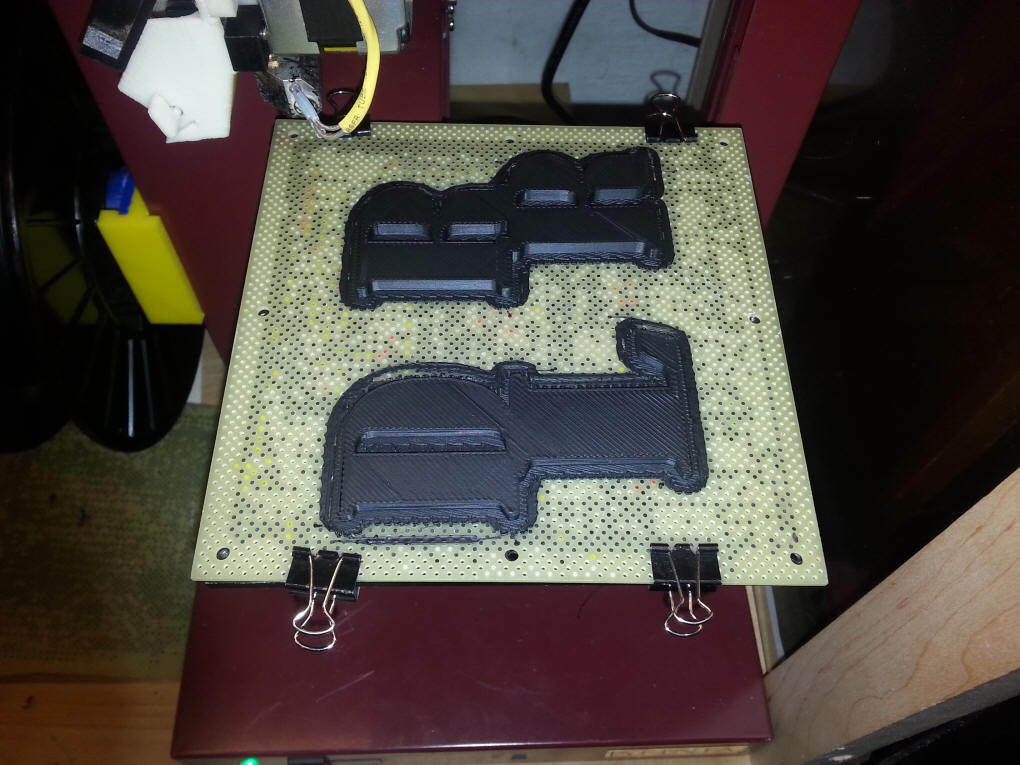
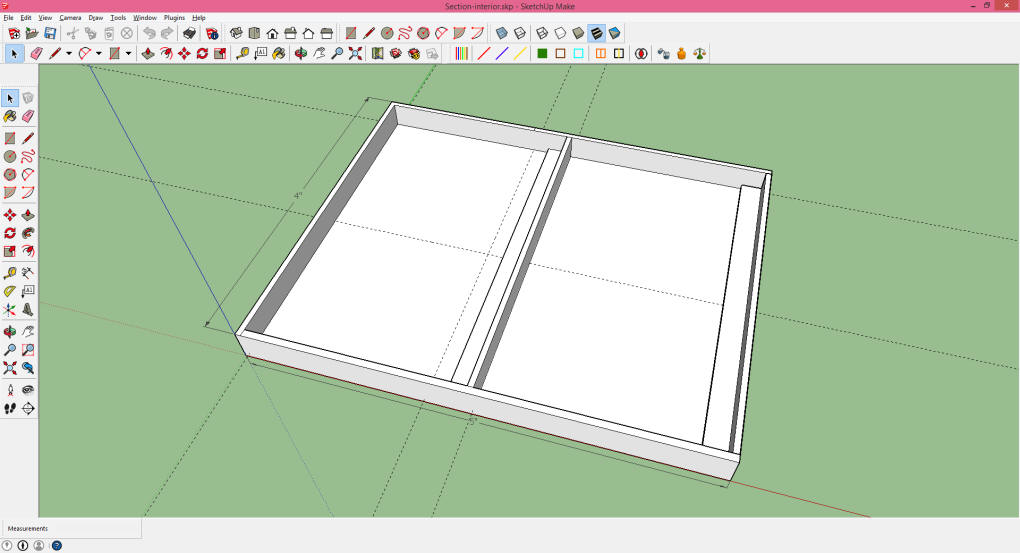
The full sized bridge was broken down into three files: a left end, a
right end and an interior section. I did not opt to add rivets and other
file details as they are not visible from the distance where most visitors
observe my railroad and don't print as well as one would like!
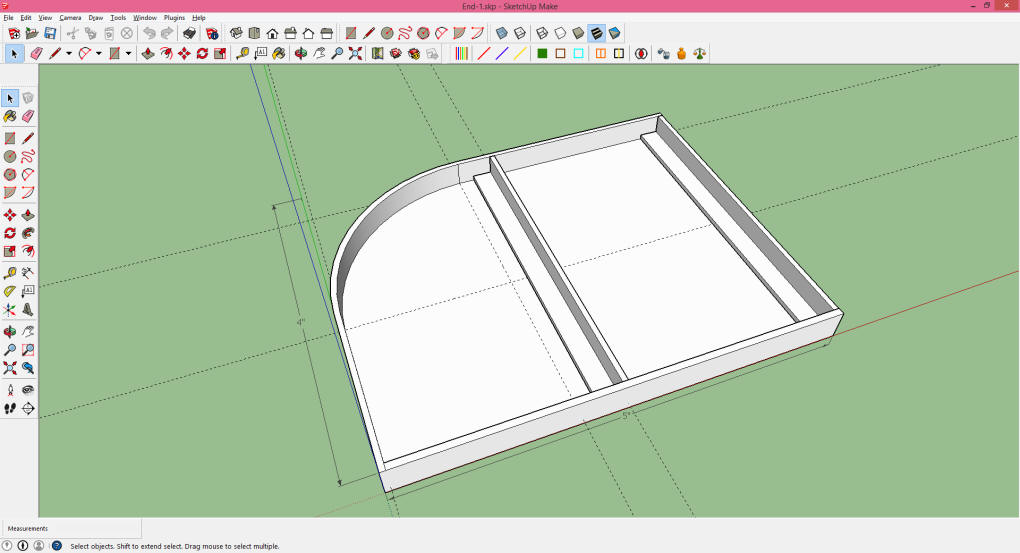
Each section took about 2 hours to print on my FlashForge Creator, the larger and faster of my printers. The Afinia took more than 3 hours and the size of each section, about 5" x 4", was right at the threshold of its print size and I had to be very careful to orient the piece to keep from having failures.
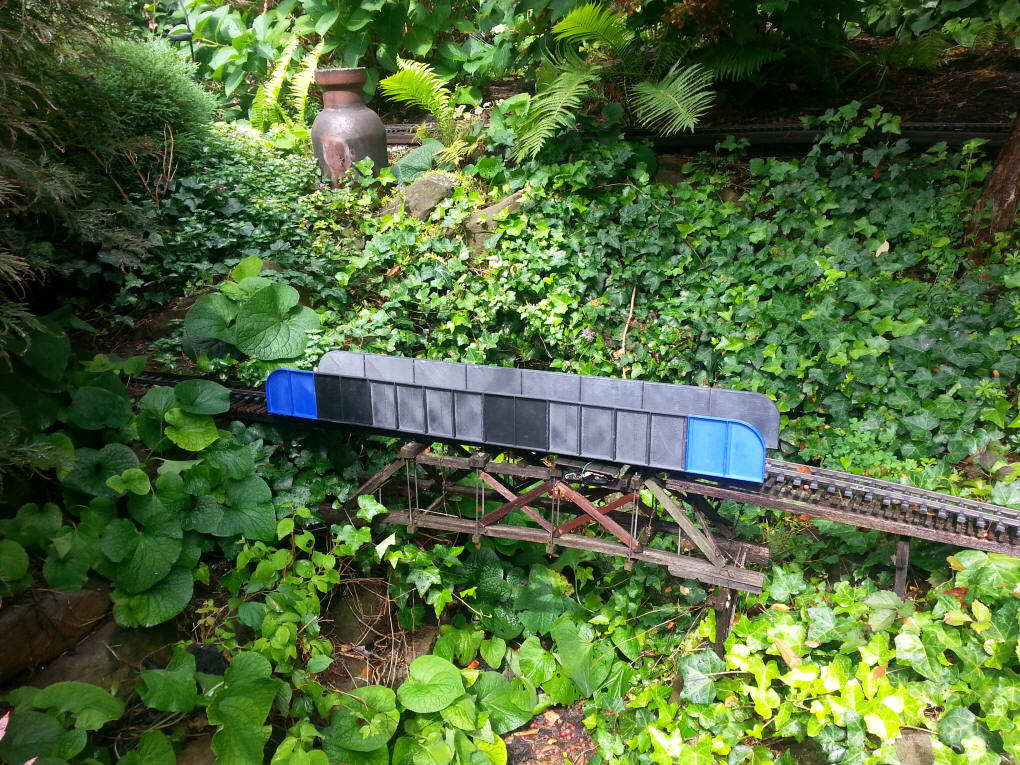
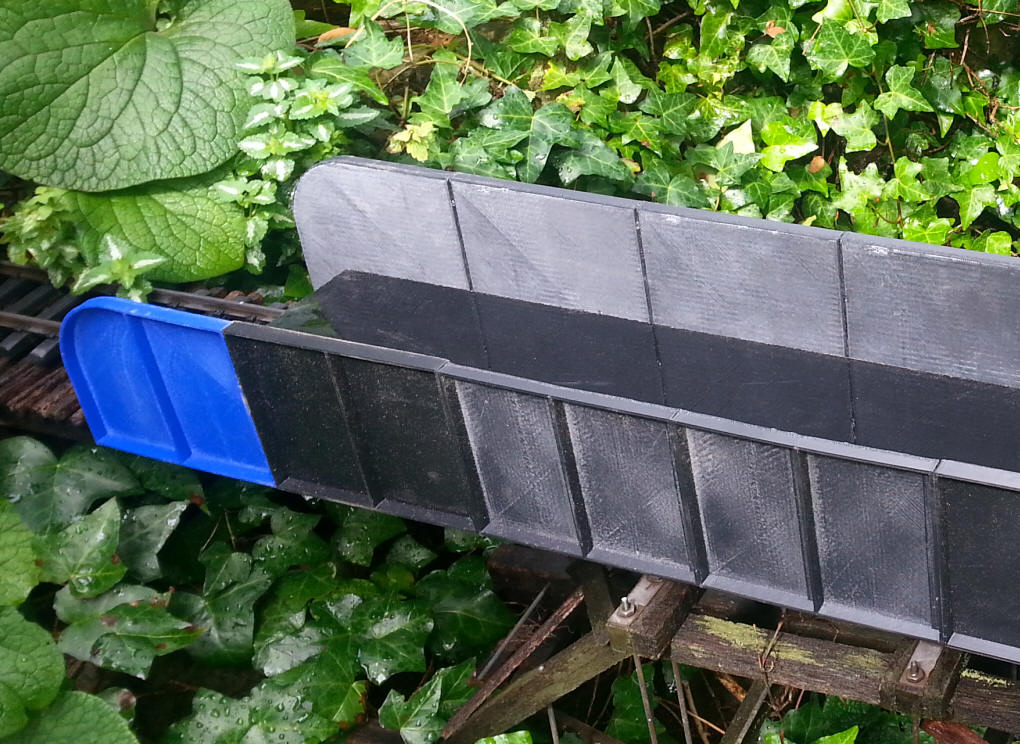
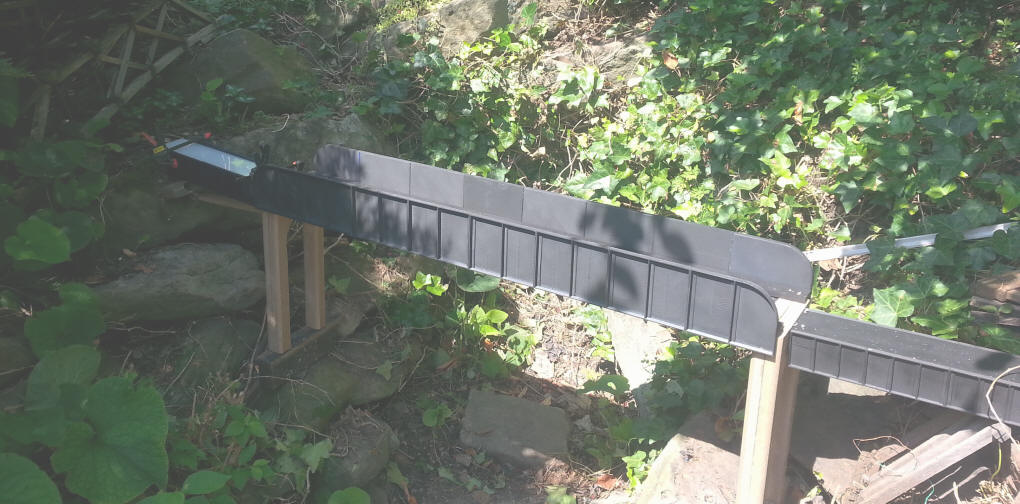
To achieve the dimension I needed the bridge was made up of two end pieces and six interior sections.

When the printing was complete I glued each section together. I used ABS filament which is the same plastic used in Legos. Weld-on #16 works very well with this plastic.
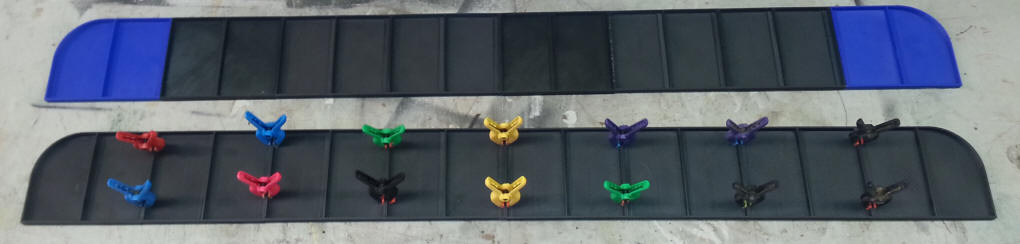
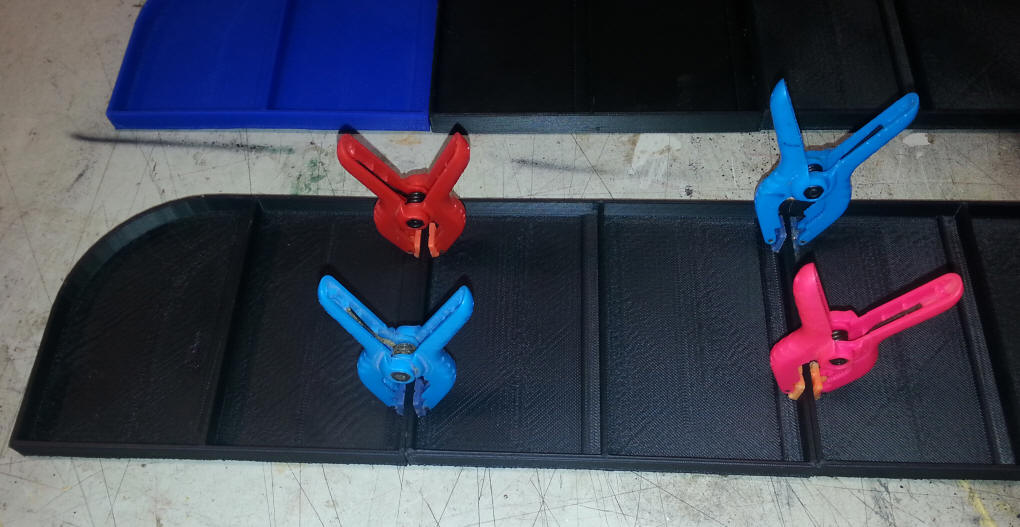
If you are wondering about some of the end sections being done in blue that is because blue was the color of filament that was in the printer when I started and, since I plan on painting the bridge when I am done, color doesn't really matter.