d. bodnar 10-18-2019
Video:
https://youtu.be/XRatpQO6i7k
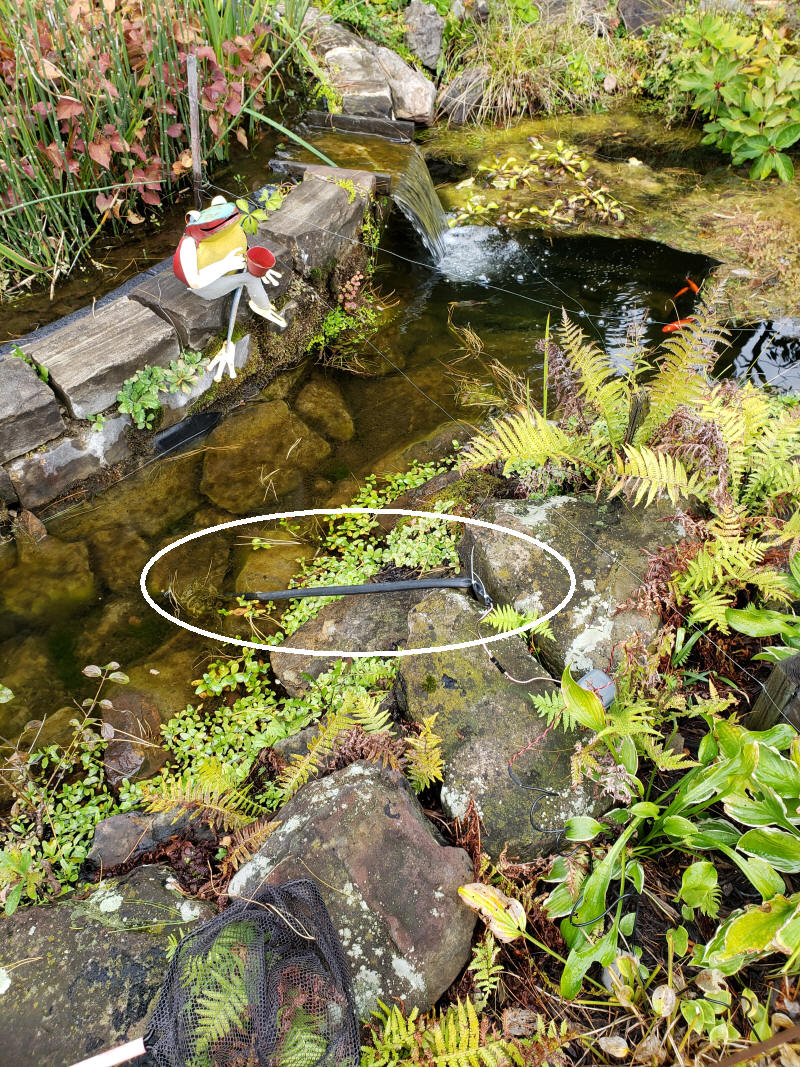
| Overview We have a pond in the back yard that is home to a number of fish. They love to eat and look forward to my visits. Unfortunately it is not healthy for the fish to be fed when the temperature of the pond water is 50 degrees Fahrenheit or lower. To keep track of this I built up a wireless temperature reporting system using a pair of Arduinos, wireless transmitter/receiver modules, an LCD display and a temperature sensor. This page contains my notes on that project. More detailed information on the HC-12 is here: http://trainelectronics.com/Arduino/HC-12-Serial_Radio/ |
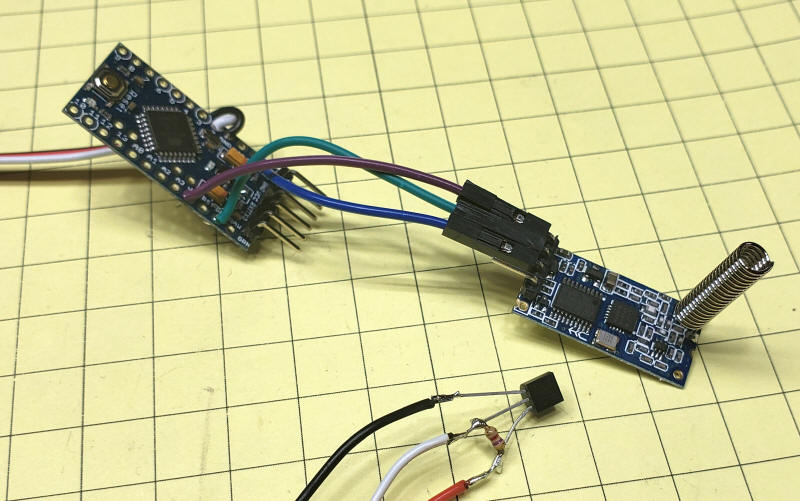
| Hardware Transmitter Note that you must disconnect the wire from the HC-12 to pin 1 (TX) to program the Arduino.
The transmitter prototype shown here includes the three items in the schematic.
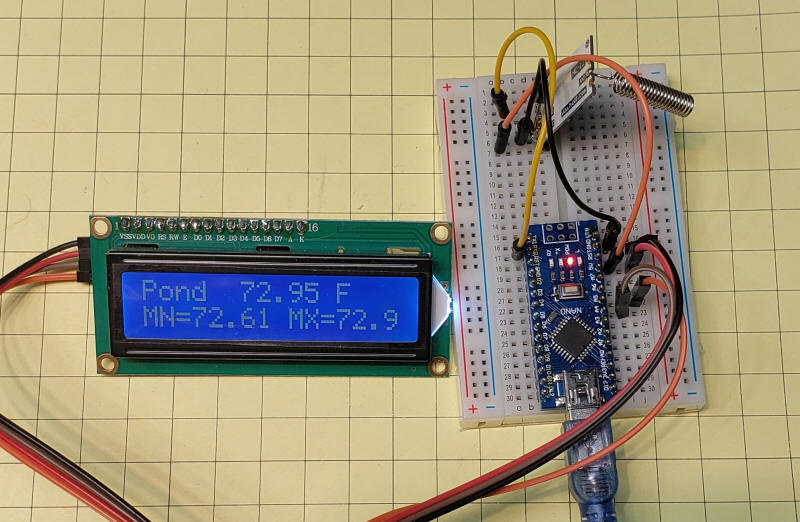
Receiver
This photo shows the first prototype built on a prototyping board. It follows the schematic above.
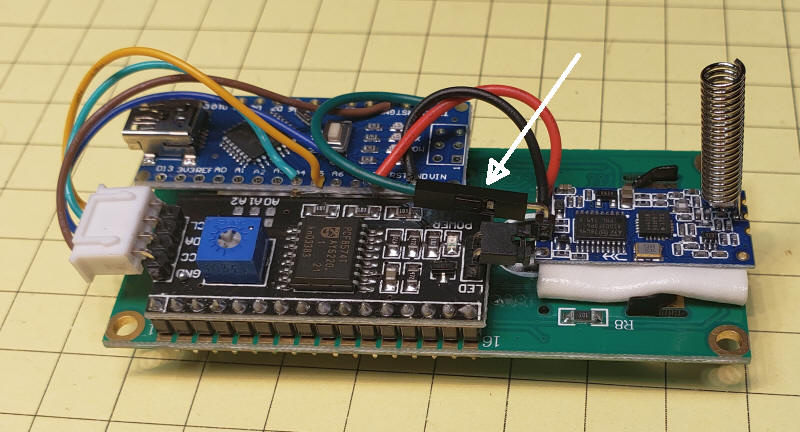
Here I made a more compact, soldered unit. Note the connector at the white arrow that can be removed when you program the Arduino. You CANNOT program the Arduino if there is a connection to the RX or TX pins on it.
|
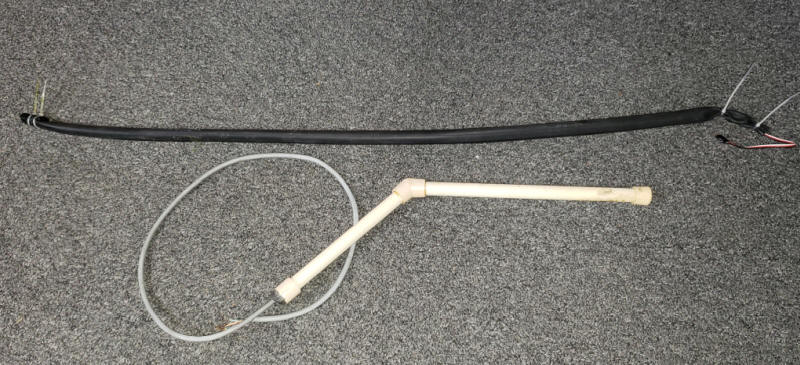
| Water Proofing the Temperature Sensor I used two different methods to protect the DS18B20 sensors from water. The top method shows a length of bicycle inner tube that is closed at the left end with two cable ties holding the folded end in place. At the right the three wire cable emerges, again through two cable ties. The lower sensor is just plastic pipe fittings with the exiting wire being held with the type of putty that is used by electricians when a cable goes through the side of a house.
|
| Transmitter Code Two libraries are needed, OneWire and DallasTemperature. FILE NAME: DS18B20-HC-12-xmit---WORKS The code is here:
|
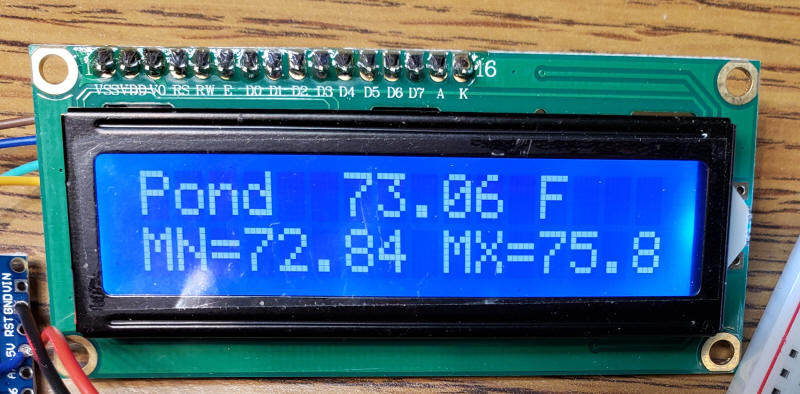
| Receiver Code Several libraries are needed: Wire, LCD, and LiquidCrystal I2C FILE NAME: HC-12-serial-radio-test-receive-v6-min-max---WORKS The code is here - note that a Minimum /
Maximum temperature has been added to the display /*
HC-12 receive test to LCD
d. bodnar revised 6-02-2016
*/
int LED = 13; // LED to blink when DCC packets are sent in loop
#include <Wire.h>
#include <LCD.h>
#include <LiquidCrystal_I2C.h>
#define I2C_ADDR 0x27 // <<----- Add your address here. Find it from I2C Scanner
#define BACKLIGHT_PIN 3
#define En_pin 2
#define Rw_pin 1
#define Rs_pin 0
#define D4_pin 4
#define D5_pin 5
#define D6_pin 6
#define D7_pin 7
LiquidCrystal_I2C lcd(I2C_ADDR, En_pin, Rw_pin, Rs_pin, D4_pin, D5_pin, D6_pin, D7_pin);
int counter = 0;
float min = 9999; //minimum seen start value
float max = 0; // maximum seen start value
String readString;
void setup() {
lcd.begin (16, 2); // LCD is 16 characters x 2 lines
lcd.setBacklightPin(BACKLIGHT_PIN, POSITIVE);
lcd.setBacklight(HIGH); // Switch on the backlight
lcd.home (); // go home
Serial.begin (9600);
lcd.setCursor(0, 0);
lcd.print("HC-12 Test");
lcd.setCursor(0, 1);
lcd.print("10-12-2019 ");
Serial.print("10-12-2019 version ");
delay(500);
lcd.clear();
} // END SETUP
void loop() {
lcd.setBacklight(2); // Switch on the backlight
char TestData;
while (Serial.available()) {
char c = Serial.read(); //gets one byte from serial buffer
readString += c; //makes the String readString
delay(2); //slow looping to allow buffer to fill with next character
}
if (readString.length() > 0) {
Serial.print("readString ");
Serial.println(readString); //so you can see the captured String
float n = readString.toFloat(); //convert readString into a number
if (n <= min) {
min = n;
}
if (n >= max) {
max = n;
}
// Serial.println(n); //so you can see the integer
lcd.setCursor(0, 0);
lcd.print("Pond");
lcd.setCursor(6, 0);
lcd.print(n);
lcd.print(" F");
lcd.setCursor(0, 1);
lcd.print("MN=");
lcd.print(min);
lcd.print(" MX=");
lcd.print(max);
readString = "";
}
} //END LOOP
|
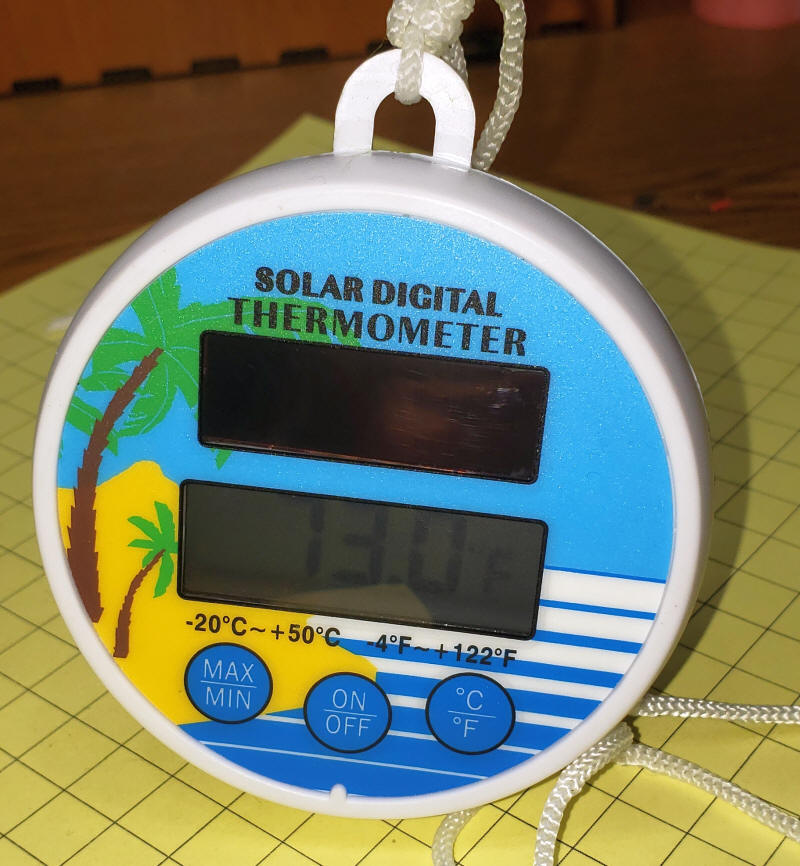
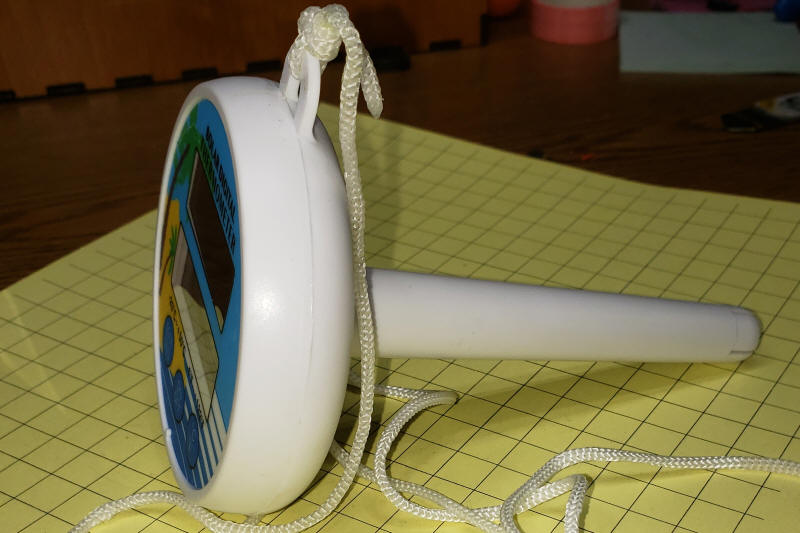
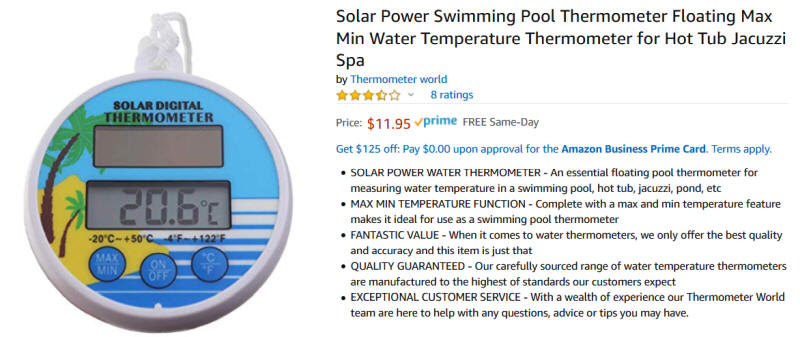
| An Alternative This floating thermometer is a viable alternative if you are able to go to the pond to determine the temperature. During initial tests the temperature tracked well with the temperature from the HC-12 unit.
|
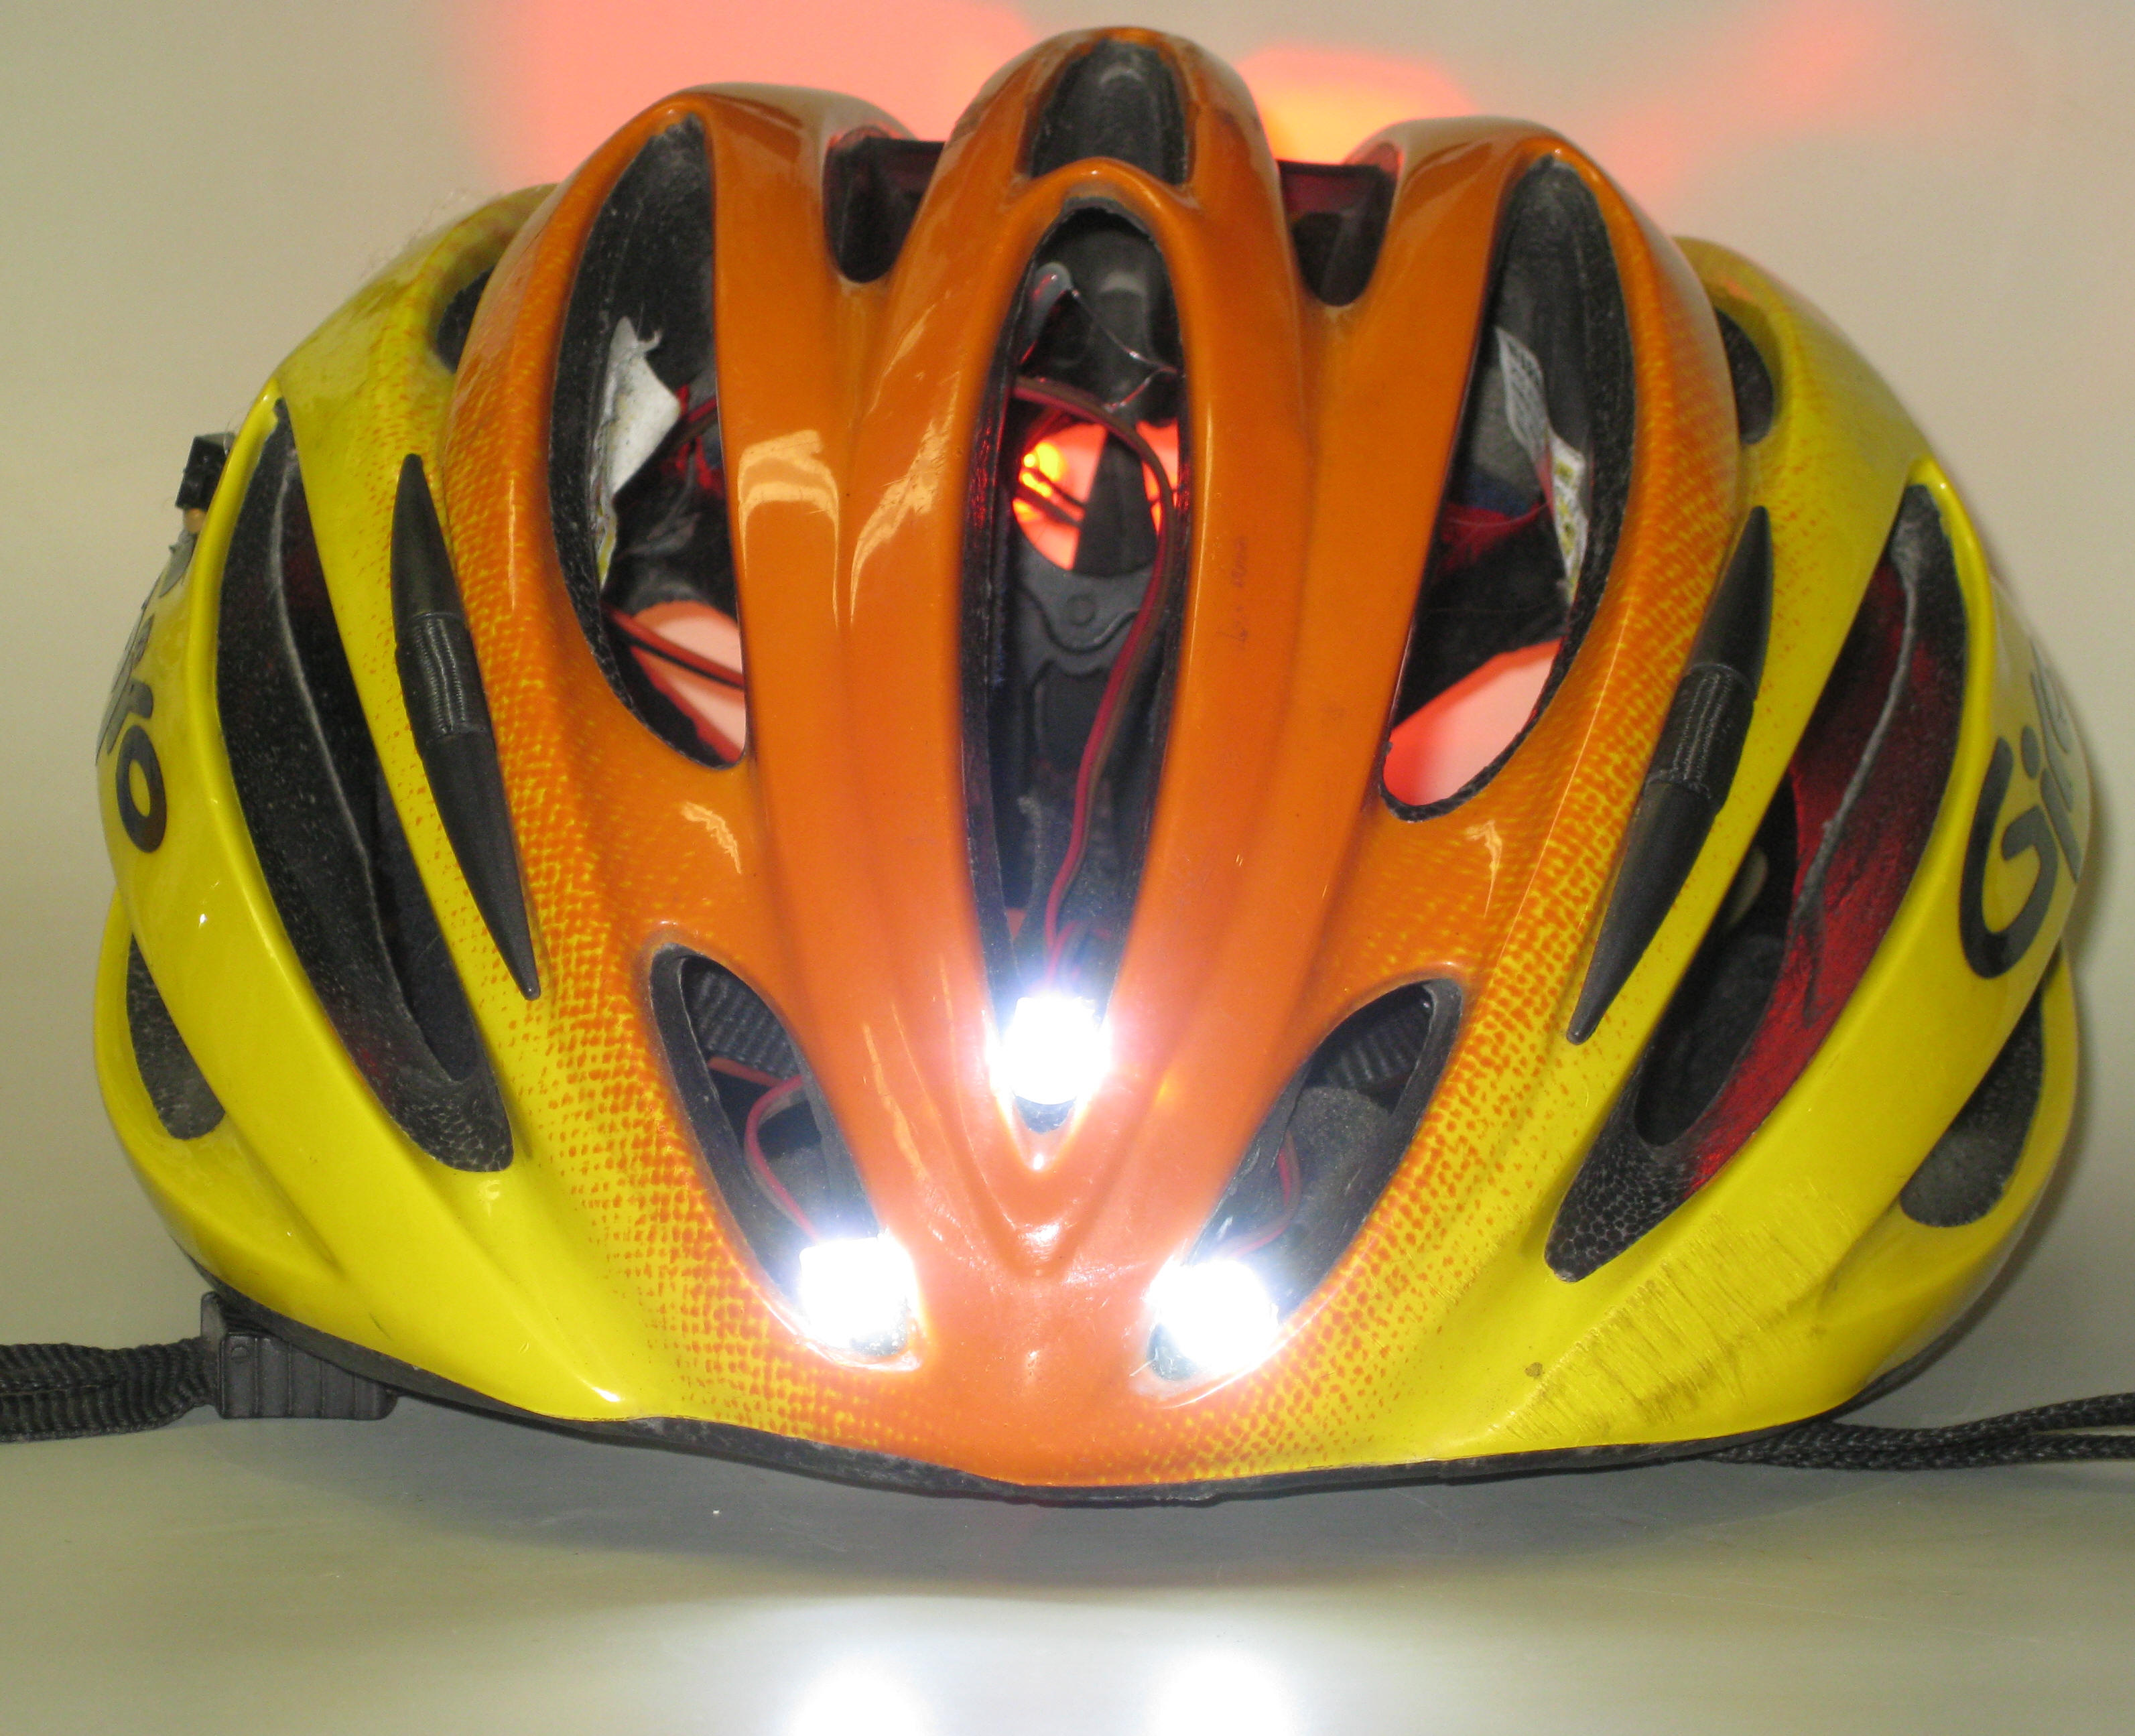
| Another Alternative I built up a temperature sensor that I use on my bicycle helmet and it, too, is appropriate for measuring pond temperature.
Details on how it works can be found here. http://trainelectronics.com/BikeTemperatureFlasher/ This is the original article. This link is to a modification that only reports temperature periodically and is appropriate for solar panel power. http://trainelectronics.com/BikeTemperatureFlasher/inTheGarden/index.htm Note that this option does NOT use an Arduino but a PIC 12F683 microcontroller. |