|
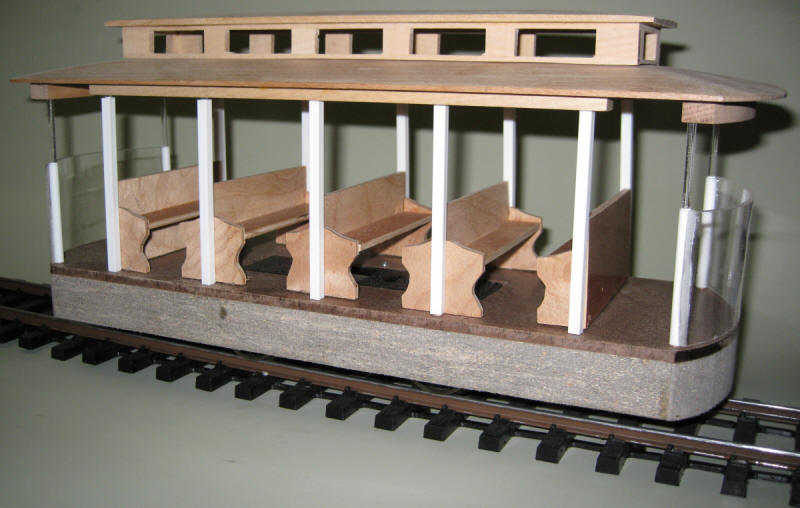
The nearly completed model clearly shows the variety of materials that were used in its constructions.
|
|
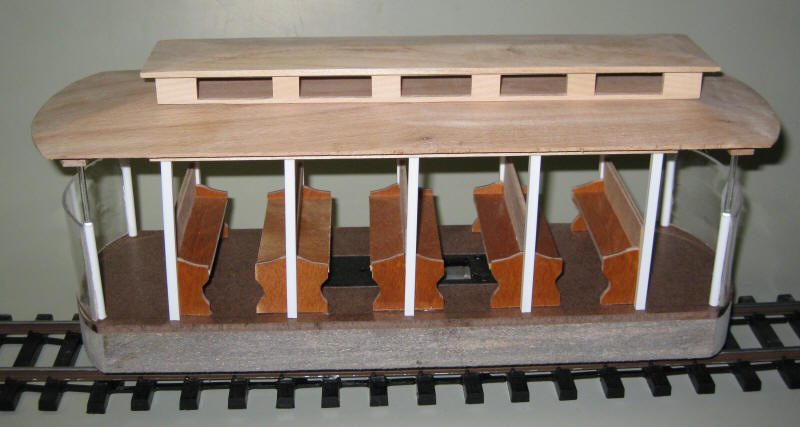
In this view you can see the finished side of the plywood veneer from the hollow core door.
|
|
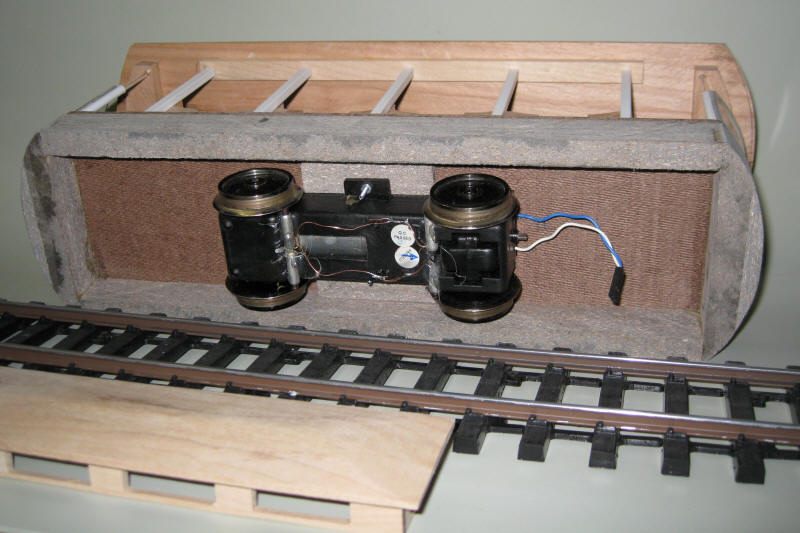
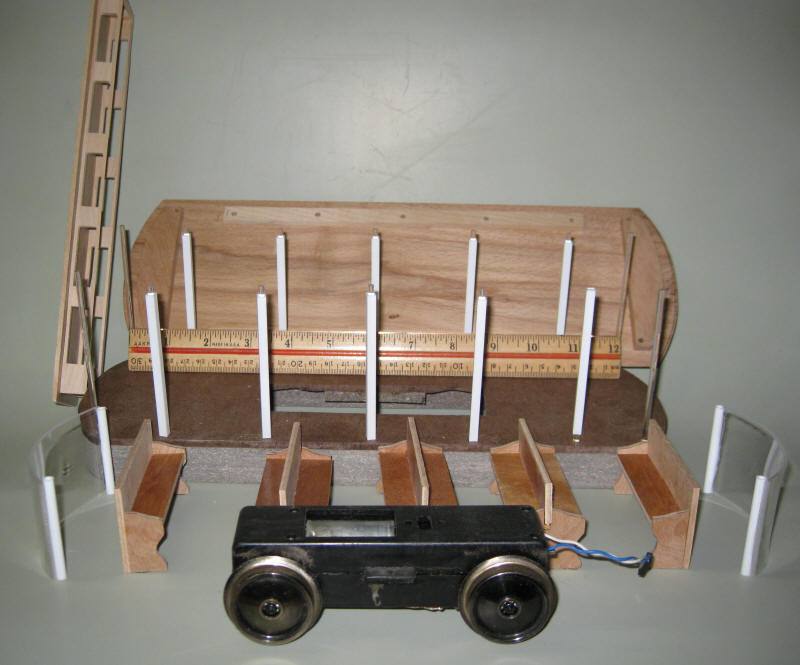
The motor block and wheels are from an AristoCraft Eggliner. Four additional power pickups were added to insure good electrical connection to the track. The blue / white wires coming out of the unit will be used to power the clerestory lighting and head & tail lights. The track pickup wires and the motor wires were connected together within the motor block. The blue / white wires are just wired in parallel with these connections to give a power pickup for lights. The power block is secured with only two screws and can be swapped out in a matter of minutes should there be a problem with it.
|
|
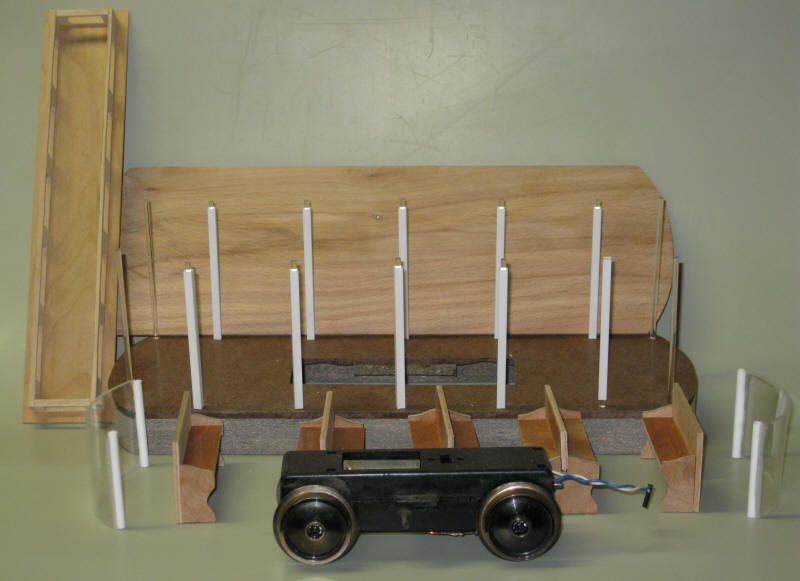
Here the parts are shown in an exploded view.
|
| This exploded view shows the bottom of the roof and includes a
12" ruler to give a better idea of size.
|
|
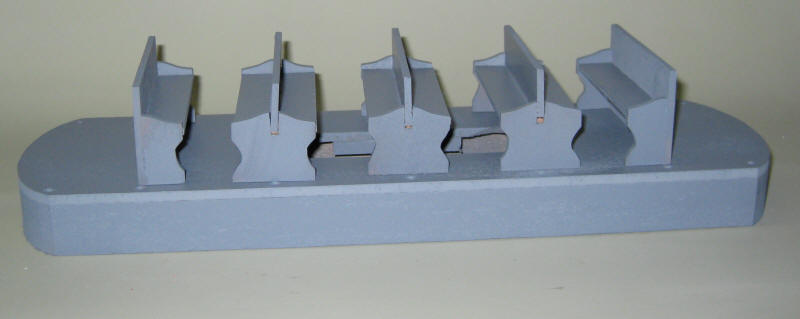
The base and benches primed.
|
|
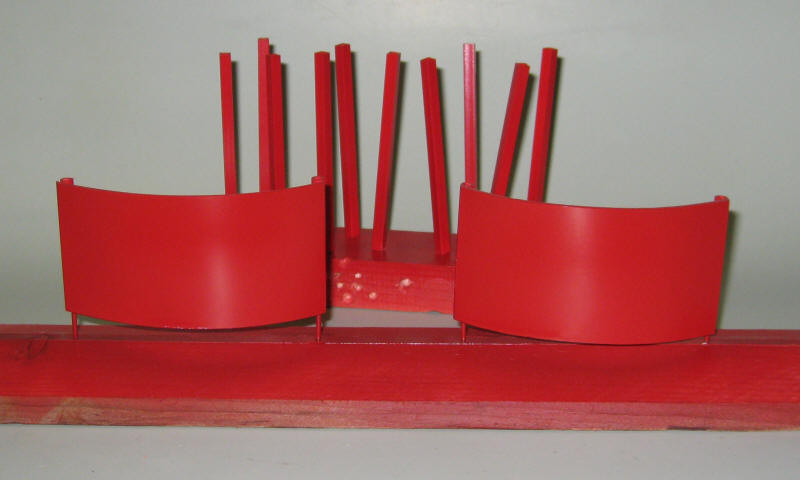
The roof and clerestory got two coats of primer and two of red spray paint. The red Plexiglas strips will go on the clerestory windows.
|
|
The posts and front and rear end plates were also painted red.
|
|
Five 10mm jumbo white LEDs were mounted on the
roof. Note that the tops of the LEDs were ground off to give a
more dispersed light.
Two "T" nuts were glued to the inside of the clerestory's roof. Bolts extend through the main roof and thread into the "T" nuts to secure the clerestory.
|
|
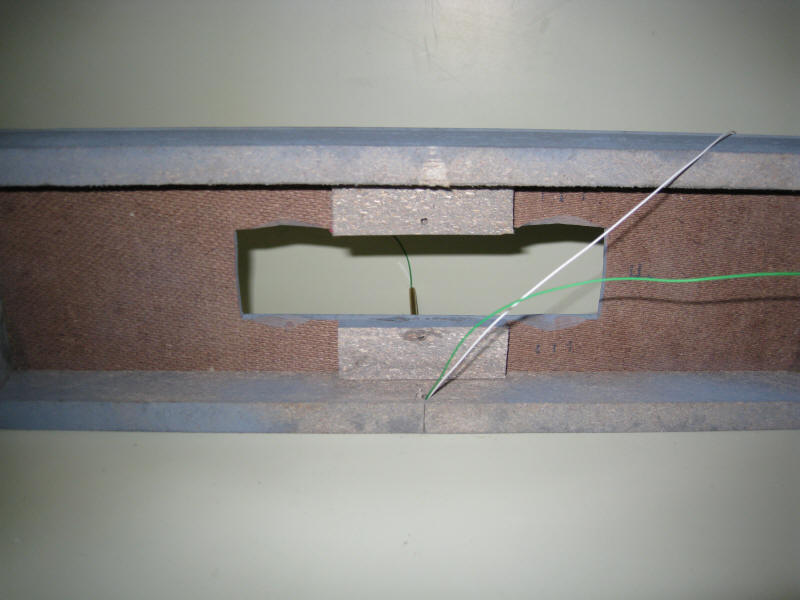
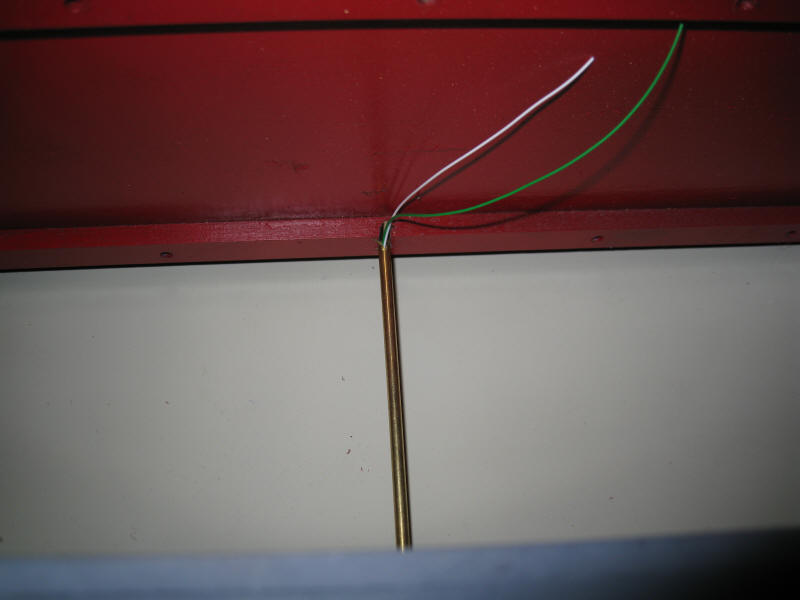
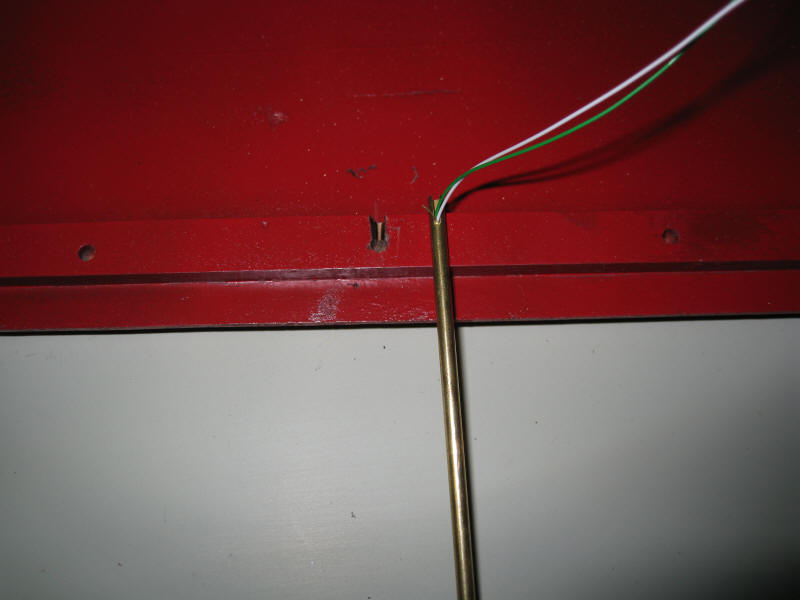
Power for the roof LEDs comes through a hollow brass post.
The wire exits the bottom of the base.
The hole that accepts the post on the roof was notched to allow the wires to exit.
|
|
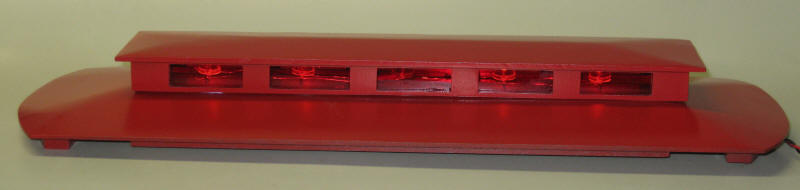
The finished, lighted roof.
|
| Head and tail lights were added to the front plates. These
LEDs are very bright, 1/2 watt units. The square base of each
LED was painted black. An unpainted LED is at the bottom of
this photo. You can also see the thin bumper that was added to
the base of the front of the trolley.
Behind the end plate the wires to the LED go through a thin brass tube to the underside of the trolley where they connect to the track power through a bridge rectifier.
|
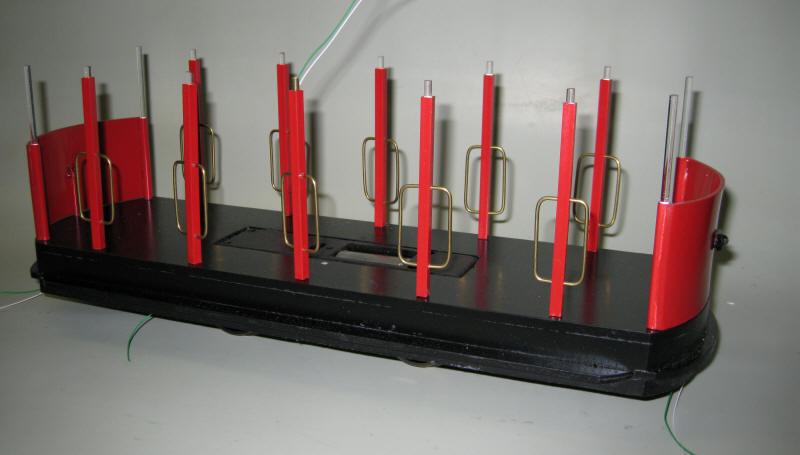
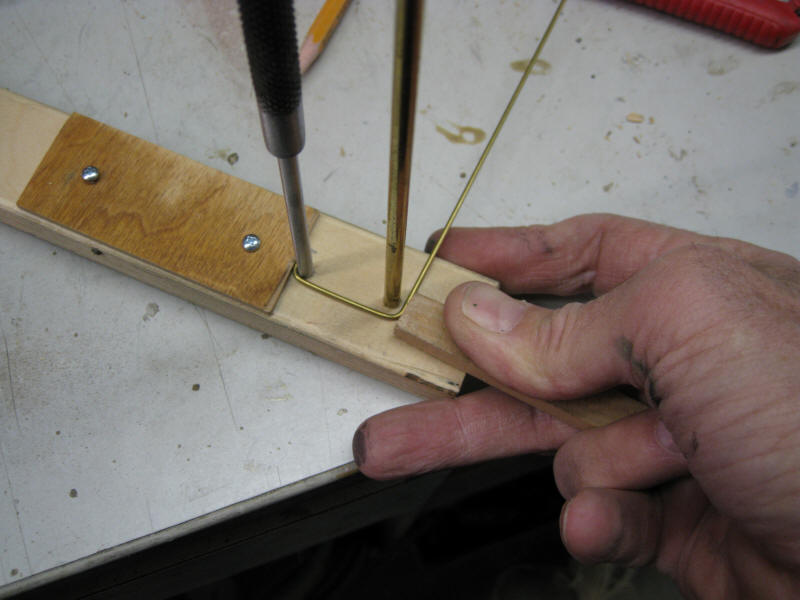
| Ten brass hand rails were added to the vertical supports.
Note the protruding step to help passengers board the trolley.
The railings were bent from thin brass rod on using this home made bending jig.
|
|
The motor block is connected to the frame by two screws and one electrical connection (blue / white wires) so that it can be swapped out quickly.
|
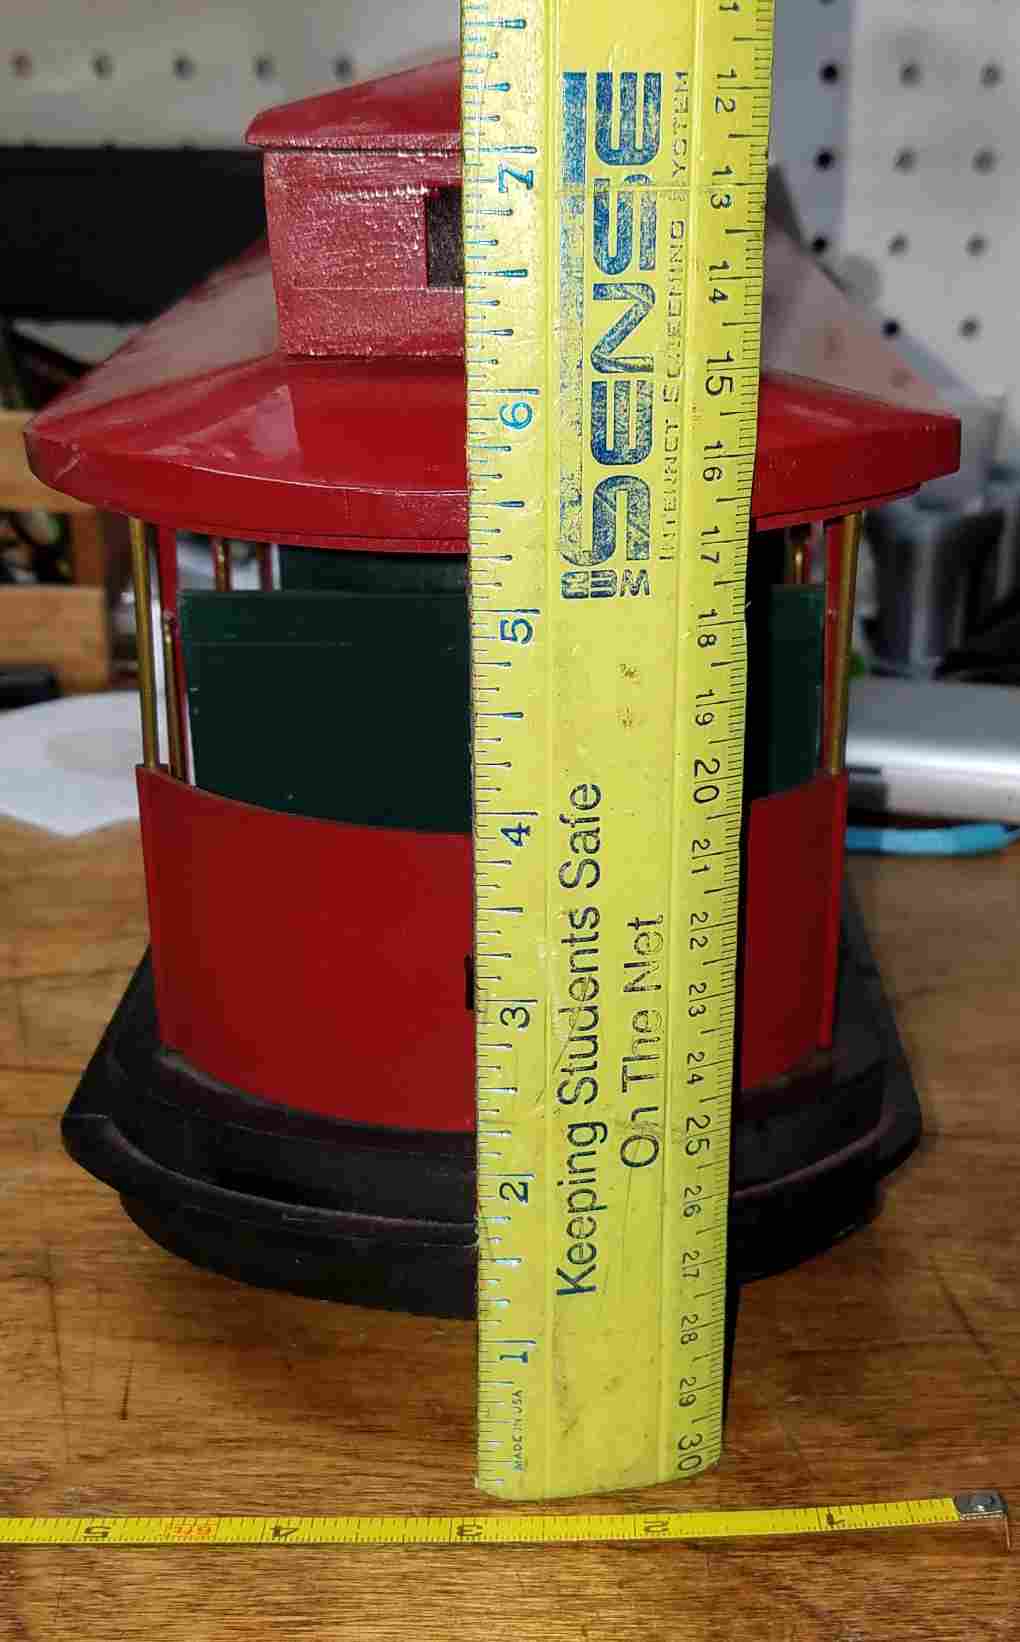
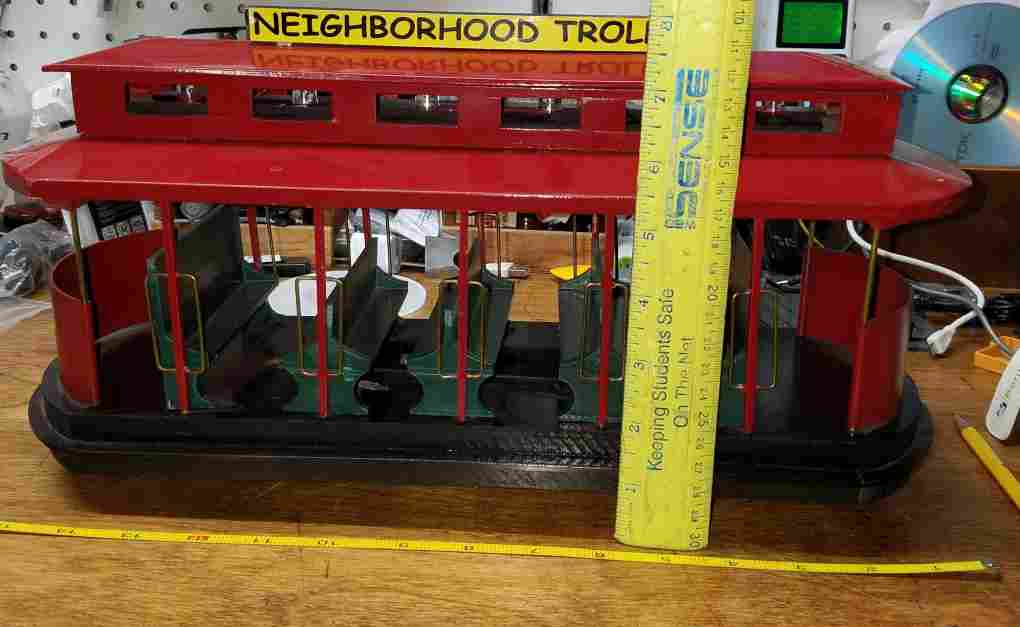
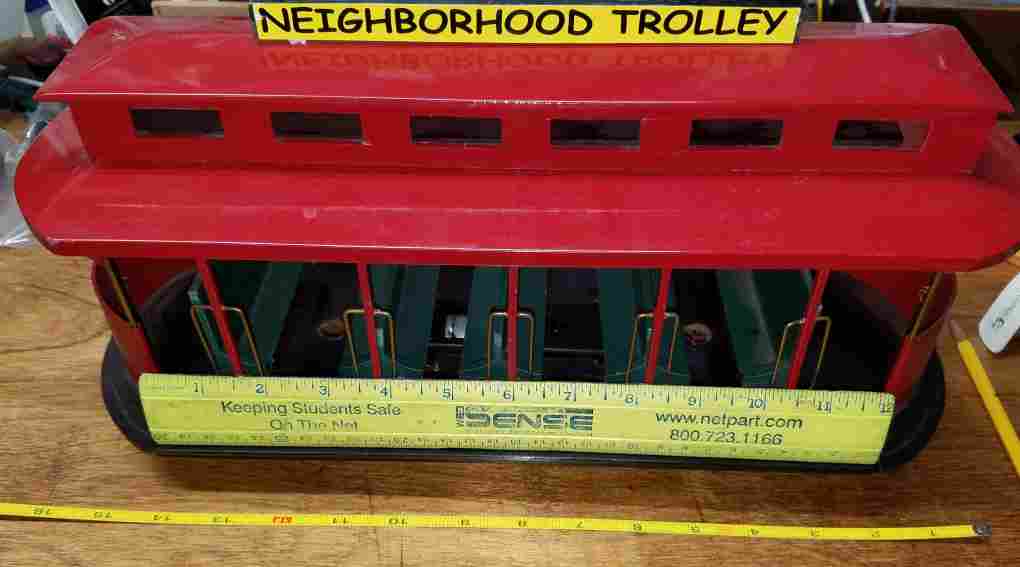
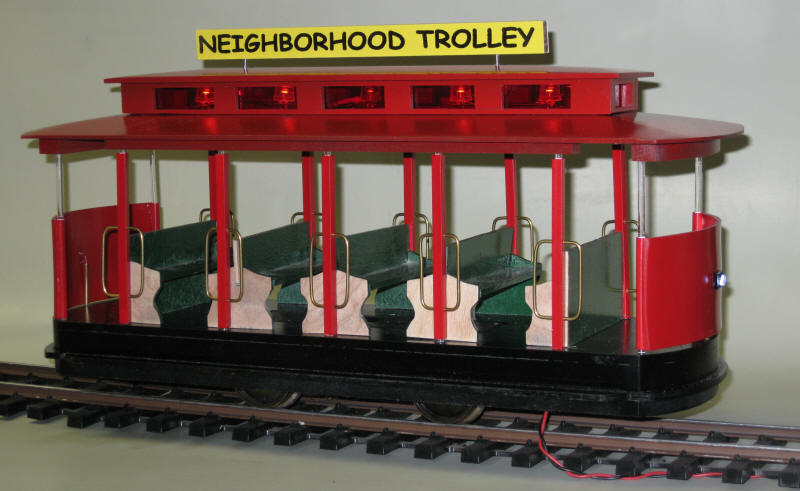
| The trolley is just about complete. The ends of the
benches need to be varnished and the sign needs to be lowered
against the top of the clerestory.
These images should give you an idea of the size of the trolley. Height to top of sign is 7.75" Width is 5.25'
Length is 15"
PDF of trolley frame - full size Trolley_MrRogers/images/MrRogersTrolleyFrame.pdf
|

.jpg)
.jpg)
.jpg)
.jpg)