My latest tests have been with two different
devices. The first is a pair of small digital cameras with fixed
focus lenses. One is a GoPro knock off and the other is not.
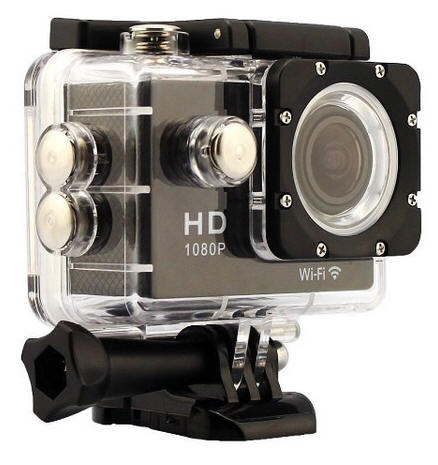
This is the SJ1000.
This is the SJ4000. When taken out of its
waterproof case it is considerably smaller than what is shown here.
The second device is a small video camera that
broadcasts its signal back to a companion receiver for display on any
composite video equipped monitor or television.
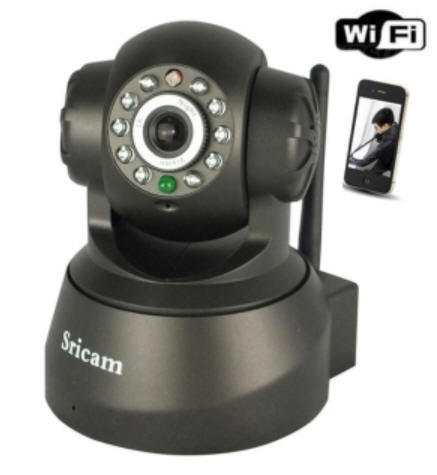
The GoPro look-alike is
from Amazon. This camera was about $60 with WiFi transmitting
capability. I used it with its Android app and was able to display very
good quality images on an Android tables. A video of the setup is here:
Here is another video that was done with the same
camera both on a tripod and while riding on a G-scale train. Here the
video was saved to a micro SD card and uploaded to a computer
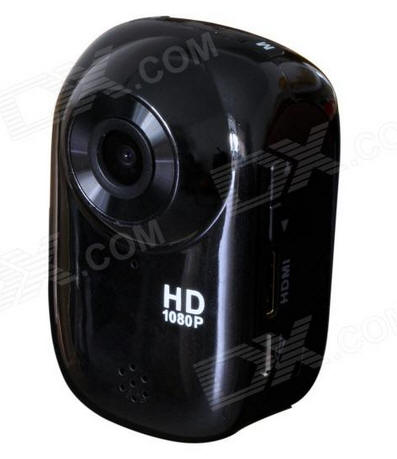
The second camera has a different form-factor and fits more easily into an HO
freight car (the GoPro style camera is too wide) It is an sj1000 and can
be purchased from
Amazon,
eBay or any number of
Chinese vendors
This video of our HO modular layout was done with the SJ1000.
The "on-train" video starts a bit before the 2:00 mark.
While the SJ4000 with WiFi works well on my G-scale
layout it is too wide to make it through many HO scale tunnel portals and
bridges. This lead me to my most recent work. which has been with a small
(less than 1.5" wide & tall) video camera that is paired with a 5.8 GHz radio
transmitter / receiver.
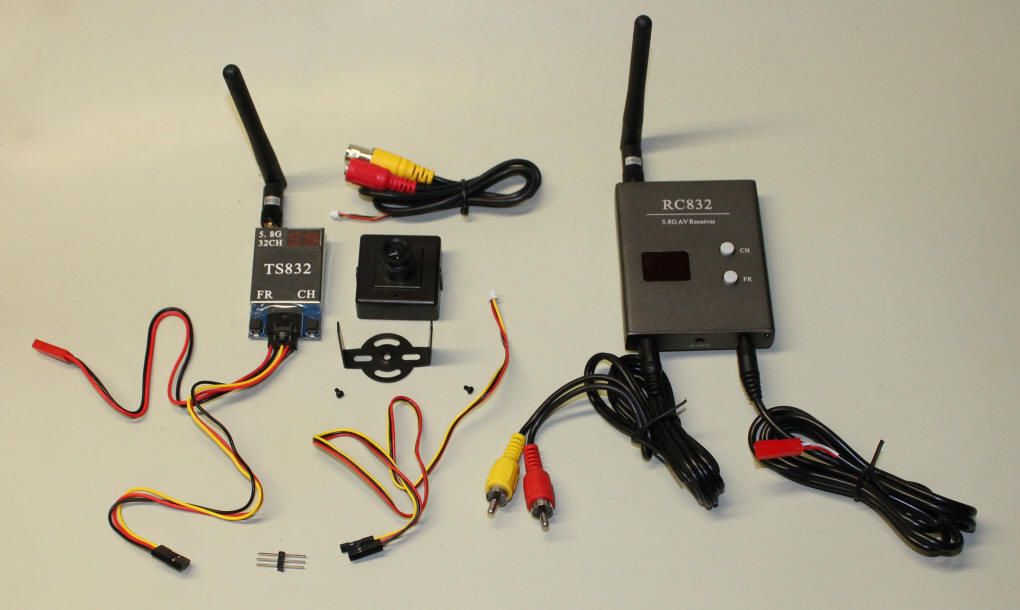
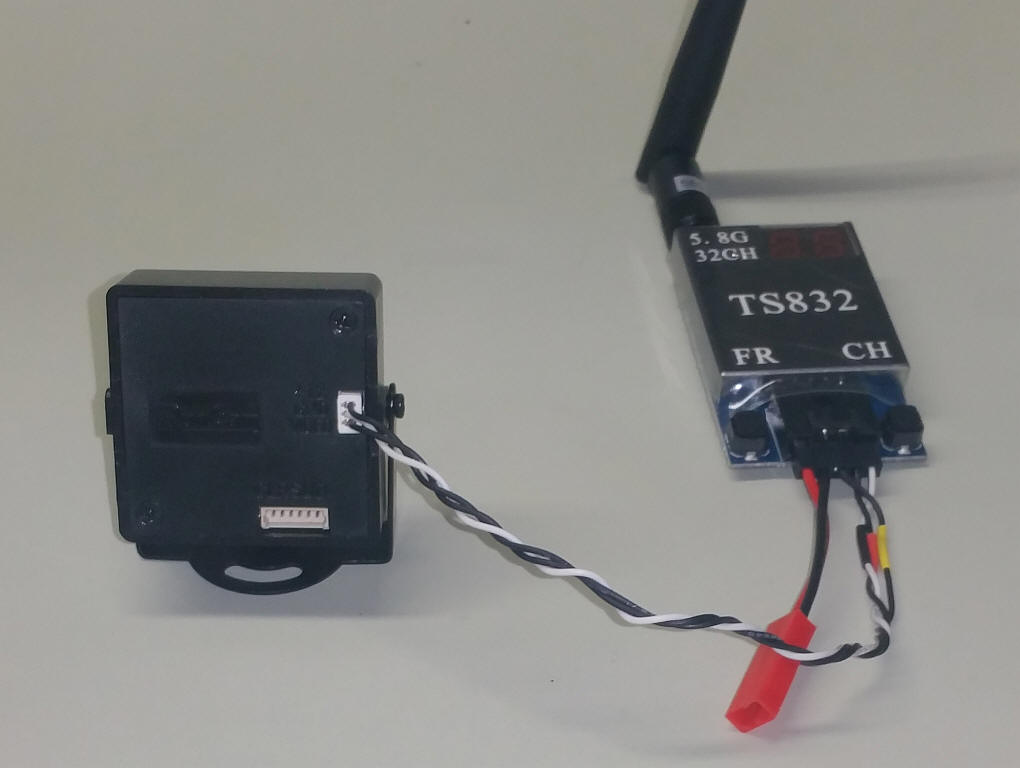
This photo shows, from left to right, the transmitter,
the camera and the receiver. All of the cables were included and I had the
unit out of the box and working within 5 minutes. The only things I need
to add were two 12 volt power supplies (one for the transmitter and one for the
receiver) and a monitor with composite video input. In addition I needed a
double male 3 pin connector (bottom left in the photo) to connect the cable from
the camera to the cable from the transmitter.
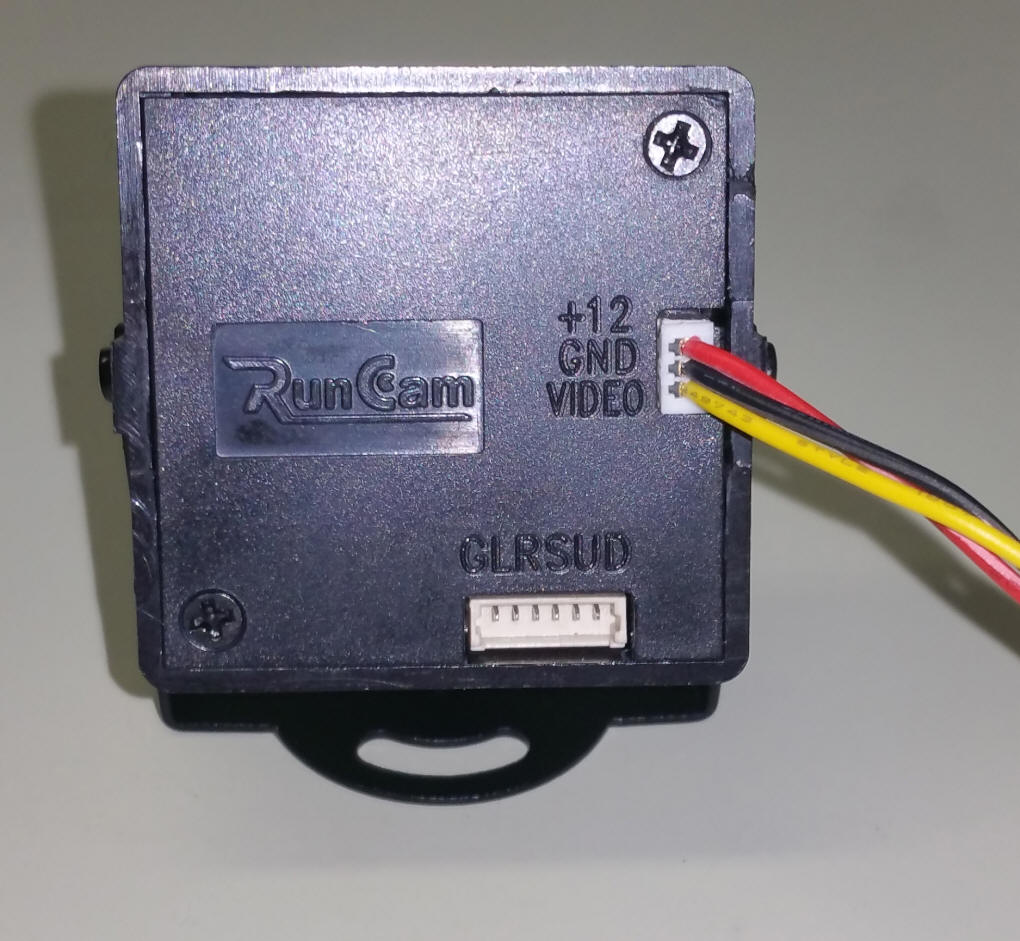
The back of the camera has two connections, one for
power and composite video out and one for setting up the camera.
The cables that came with the camera and transmitter
were way longer than I needed measuring more than 24". I built up a 5"
cable as shown here.
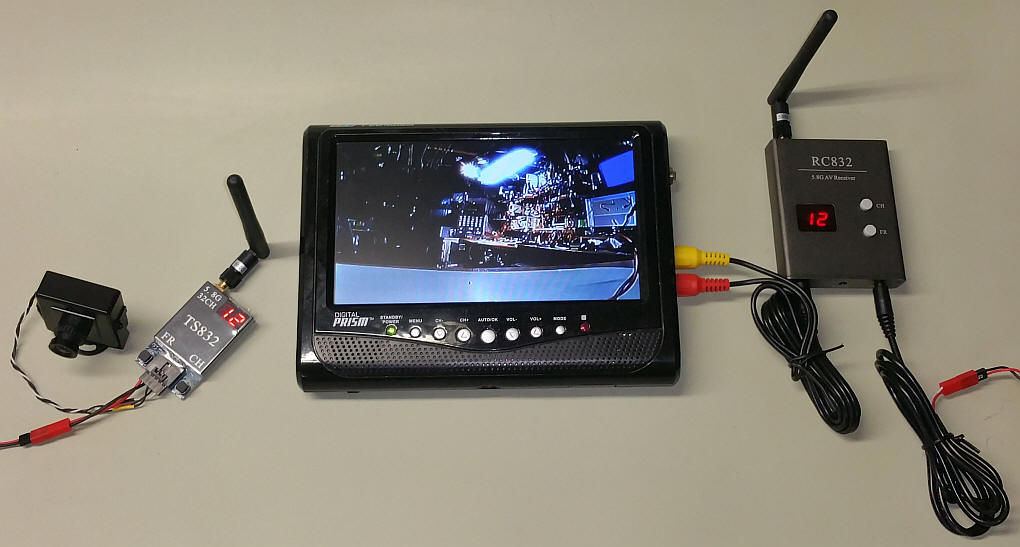
Here the output from the receiver goes to a small LCD
TV that has composite video capability. Note that that both the
transmitter and receiver show "12" - a number of different channels and
frequencies are available. Whatever is selected must match.
Camera setup is done by connecting the camera to a
video display and using the (included) adjustment device shown here.
Pressing the small button on the device brings up a menu that you can step
through by moving the button up, down, left or right. Nice!
Video Test This video shows the quality of the transmission. I hope to do a
similar test outside in the next few days.
This video was taken outside on the garden railroad
The system exhibited some drop-outs where video was
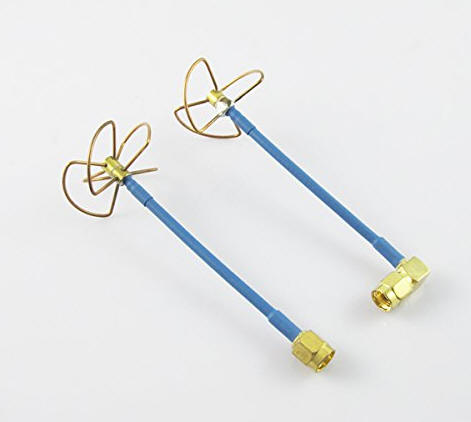
lost - In hopes of eliminating many or all of these I ordered another set of
antennas
from Amazon.
This video shows that the upgraded antennas improved
reception. The videos shown here were shot a few minutes apart and clearly
show that the original antennas displayed more "noise" on the screen than the
circular polarized antennas.
Video Quality While this 5.8 GHz setup works well the video is not high definition and is
not as sharp as what I got from the SJ4000. That said, the quality is
quite good for a composite video signal. The lens can be manually focused
and does a nice job with depth-of-field if the subject is well lighted.
Two other lenses are available each giving a wider field of view.
Range Any device operating at very, very high frequency is strictly line-of-sight.
That is the signal is good so long as the two antennas can physically see each
other. I did do a test with the receiver sitting on my workbench and with
the transmitter and camera sitting on the back of a car in the driveway.
The picture was good even though there was a concrete & stone wall between them.
This setup is frequently used for FPV (First Person View) operation of radio
control airplanes and drones. Users have reported getting well over a
kilometer range. Ads say up to five kilometers.
In a model railroad environment with the receiving
antenna at a decent height reception should be good except when the train goes
into a tunnel or behind a mountain or large structure.
Sound, too! If your monitor has audio capability you can plug the red wire from the
receiver into it and get audio along with video.