Color Signs with a
Monochrome Laser Printer
The appearance of buildings and other objects in a garden
railway can be enhanced greatly by including signs and other textual
items. I have experimented with a number
of ways to create signs that will hold up to the range of weather conditions
that we experience in
While looking for something that I could print on that would hold up better than paper I experimented with many different materials. The best I have found so far is laser printer transparency film. This is clear acetate that is designed to hold up under the high temperature that is used in the fuser of a laser printer. The fuser is the part of the printer where the toner is bonded to the printing material.
Most of us don’t have easy access to a color laser printer which would simplify things greatly. You can, however, print very long lasting and attractive two color signs using nothing more than a regular monochrome laser printer or duplicating machine, transparency film and spray paint.
One word of caution before you start. Make sure that the transparency film that you put into a laser printer or copying machine is designed for such printing. I have seen what laser printers do to acetate transparencies that are not designed for high temperature use and it is not a pretty sight! Note that the transparency film that is used for ink-jet printers will usually NOT work with laser printers. Make sure the box specifically says that it will work on laser printers or copiers. 3M has a product that will work with both but most ink jet films are only for use in those printers. Most office supply outlets, such as Staples, Office Depot and Office Max handle many different brands.
The first step is to create your sign. You can use any number of word processing, presentation, desktop publishing and graphic programs to create your design. The notes below use Microsoft Word 2002 since that is a program that many of us have.
If you want black letters on a colored background all you need to do is create your sign and print it on laser printer transparency film. Once you are done paint the back of the transparency with spray paint. The black toner will be on the front of the transparency and the paint will be on the back showing through. The only problem that I have had with this method is that it exposes the toner to the elements and can lead to damage, especially from scratches. A better method is to print the lettering in a reverse orientation on the back of the transparency and then paint over the toner. This gives an image that lasts much longer.
Printing Reverse Lettering with Microsoft Word
1. Start with a new document in Word
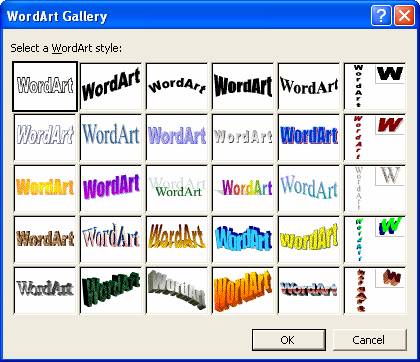
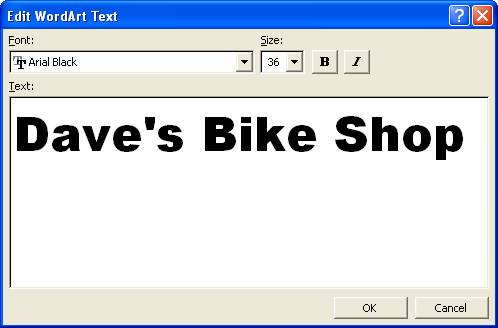
2. Select Insert / Picture / Word Art from the pull down menus
3. Select the first Word Art item and click OK
4. Type a short line of text (no more than 5 or 10 letters for this exercise) and click OK
5.
You should see your text appear on the screen in
outline form. 
6.
To change the font to black lettering right click the
text, select Format Word Art and change the fill color from white to black. 
7. To reverse the lettering so that we can paint on top of it left click on the text to select it. Note the eight square “handles” that appear in the corners and in the middle of each side.

8. Place your mouse on the left, center handle until the mouse cursor turns into a double sided arrow. Hold the mouse button down and drag the cursor to the right, crossing the entire line of text and continuing on to the right an equal distance from where you started before you release the mouse button.
9.

10. The text will reverse… just like we wanted!

11. Now when you paint the back of the transparency, not only will the background turn the color of the paint, but the paint will also help to protect the toner from damage.
Colored Letters on a Black Background
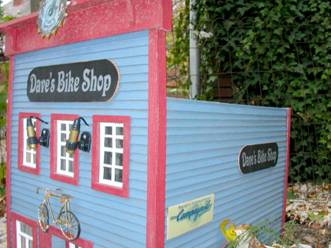
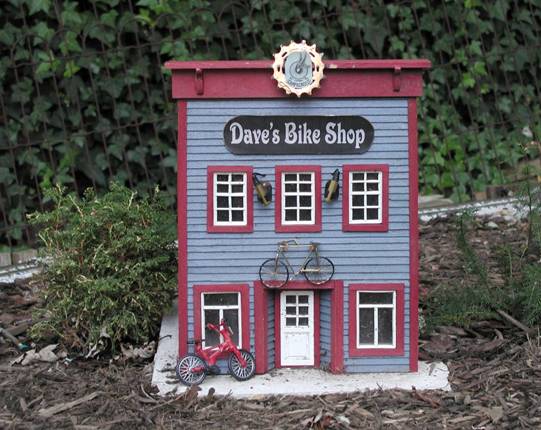
The other effect that can be easily created is to put colored letters on a black background. I used this on my bike shop signs and it turned out nicely.
1. Create your lettering using Word Art as in the example above, but do not change the fill color to black (step 6), just leave the letters in outline form.
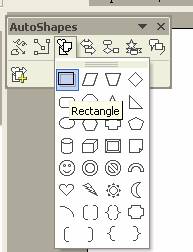
2. Once your text is on the screen click Insert / Picture / AutoShapes. The AutoShapes tool bar should appear.
3. Click the third icon from the left “Basic Shapes” and select the first one, a rectangle.
4. Working in an area below your text use your mouse to drag from the upper left to lower right to create a rectangle that is larger than your text.
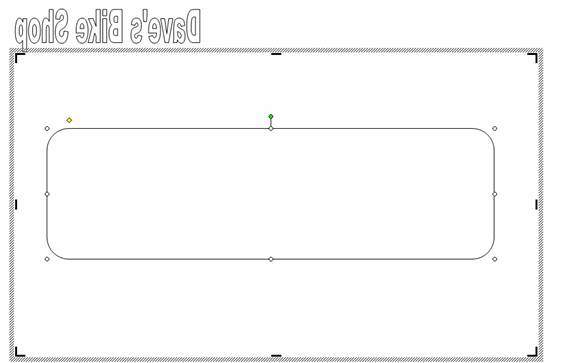
5. Click in the center of the rectangle and drag it so that it partially covers your text.
6. Right click the rectangle and select Format AutoShapes and change the fill color to black
7. Right click the rectangle again and select Order / Send Behind Text
8.
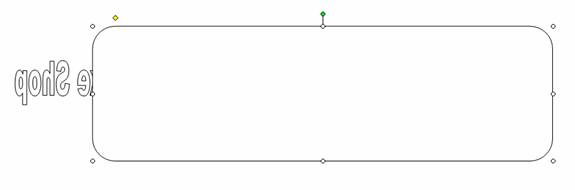
The text should appear in front of the black
background. Center the rectangle over
the text so that is completely covers the lettering – Note: if the lettering still does not appear make
sure that the text color is set to white, not “no fill”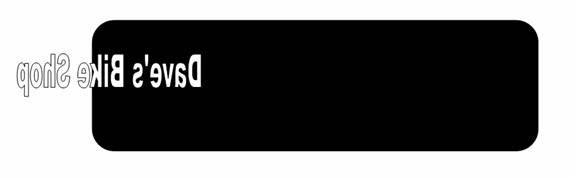
Modify the font and center the lettering to complete the sign.
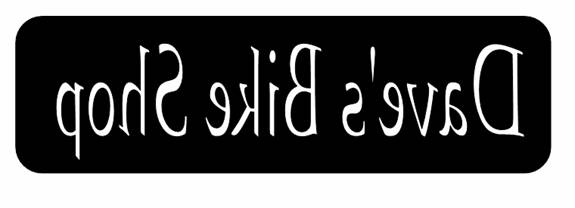
Now when you paint the back your color will show through the lettering!
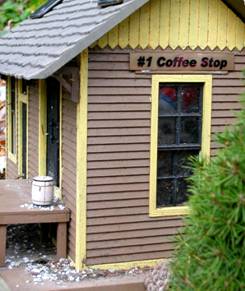
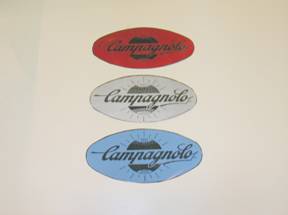
Here are a few examples of signs I have done. The photos show the transparencies with the toner on the back. That is, I printed them in reverse orientation as described above. The side of the transparency that is to be painted is up. I included a few graphics. No need to limit this work to text only! If your graphics include words you will need to use a graphics editing program, such as Microsoft Photo Editor, to mirror the images if you want to print them on the back of the transparency.
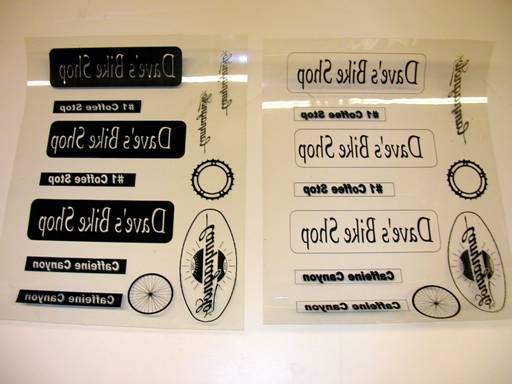
Experiment with paint types and application methods. I had the best luck with spray paint as brush paint tended to smear the toner when I painted from the back. Test paints on a scrap of transparency to make sure it doesn’t smear or interact with the acetate.
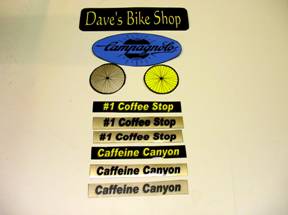
Once the paint is thoroughly dry you can glue it directly to a building or billboard. Since many of my buildings have textured side treatments I usually glue the signs to a thin piece of styrene, Plexiglas or wood and then glue that to the building. I have had good luck with most waterproof gules including TiteBond and WeldBond. Spray adhesives work well, too.