|
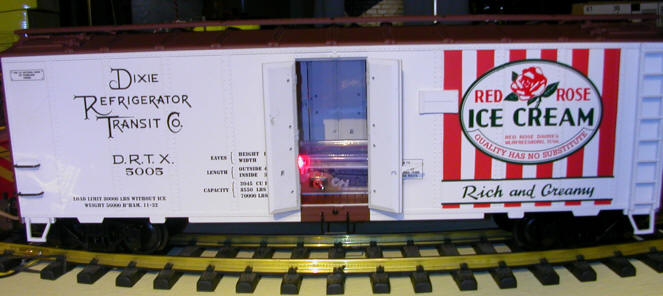
The wireless speedometer sensor is normally installed in a small Hartland
gondola car. The sensor can be installed in any other car for an
additional fee. This section gives details on how such an installation was made in an AristoCraft box car. |
|
|
|
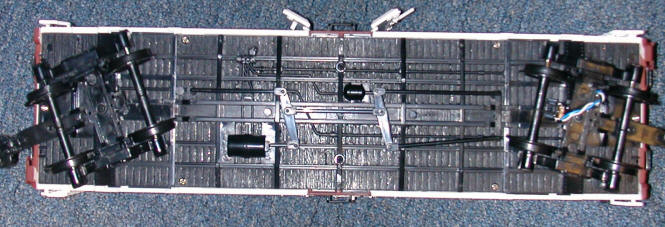
First the body of the boxcar must be removed by unscrewing 6 long (3"+) bolts.
They are easily identified as they are silver while the others that can be seen
from the bottom are black. There are two on each side and one under each
truck. Reinstalling them can be a bit tricky. I put a flashlight in
the car and used a mirror to help align the end screws. In addition there are two small black screws just below each of the doors. Next the sensor needs to be installed on one of the trucks.
|
|
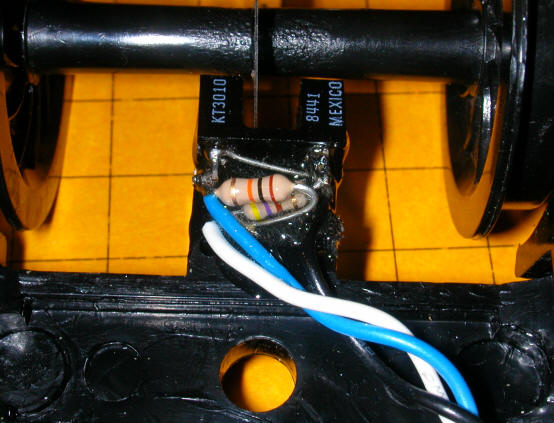
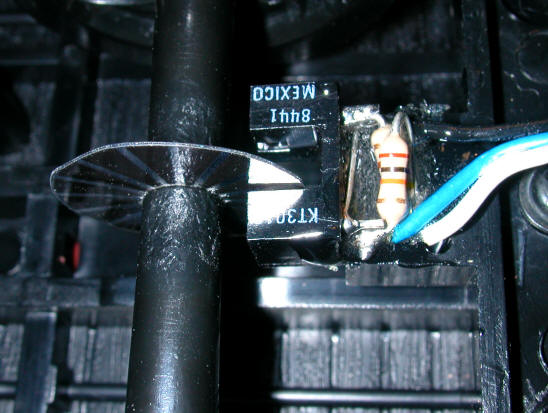
The sensor
unit is made up of a "U" shaped infrared emitter / detector pair. This is
installed just below one of the wheel axels. A small plastic disk with 16
clear sections and 16 dark sections is installed on the axle. As the axle
and wheel rotate the sensor detects this movement as the disk alternates clear
and dark sections. These interruptions are timed and used to determine
speed.
|
|
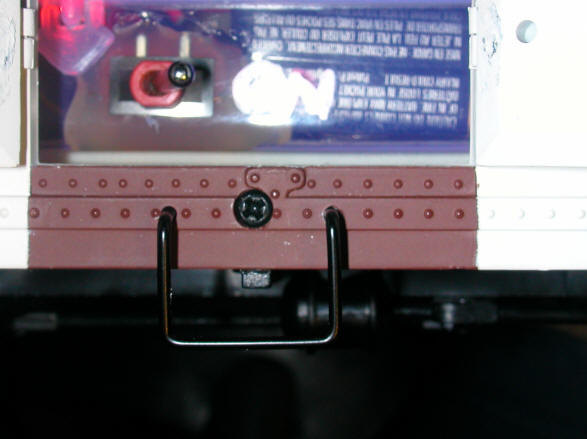
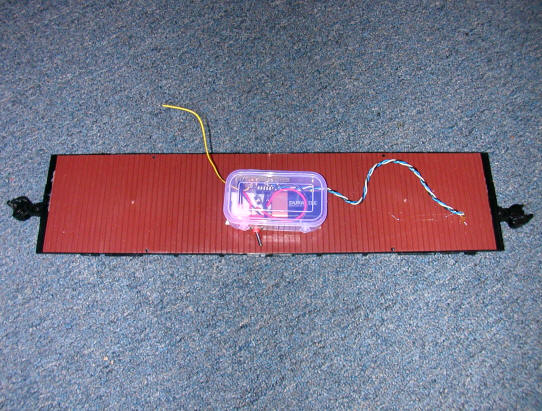
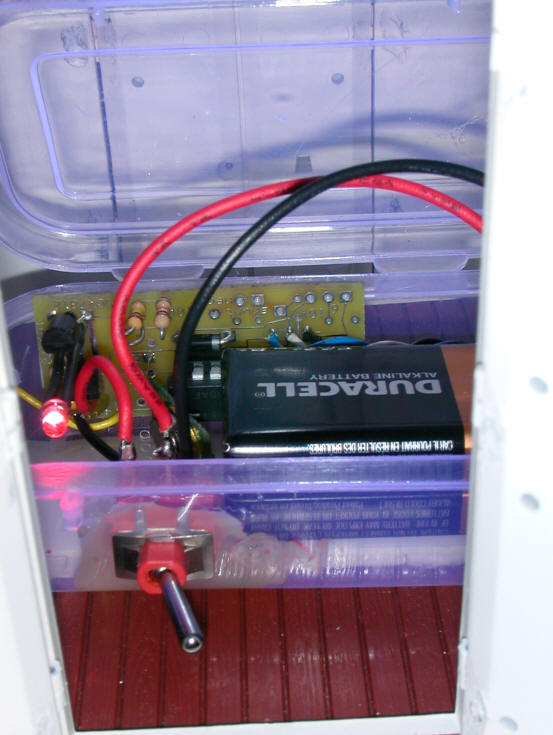
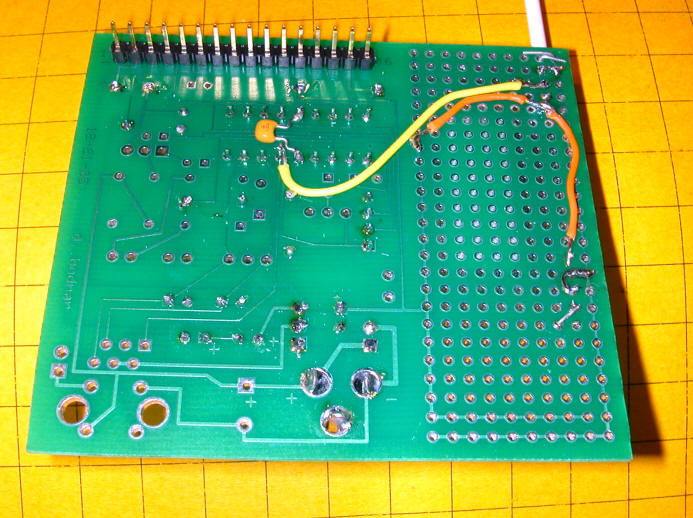
The three wires from the truck mounted sensor unit are run through the frame and
connect with the microcontroller unit.
In the photo above the antenna is the yellow wire that exits the controller case in the upper left corner. This antenna needs to be vertical in the car. Since it is a bit higher than the interior of the car the top 1" or so must be bent to fit. |
|
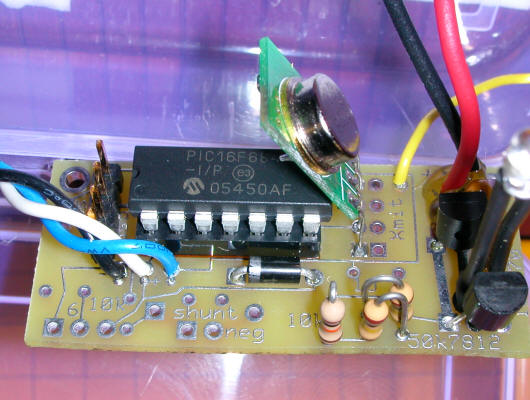
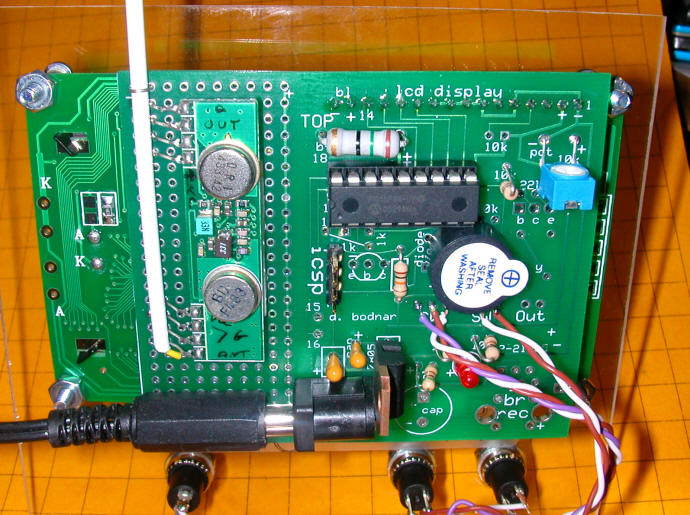
The rest of the on-board unit is made up of a PIC microcontroller and a radio
frequency transmitter that operates at 433 MHz.
. |
|
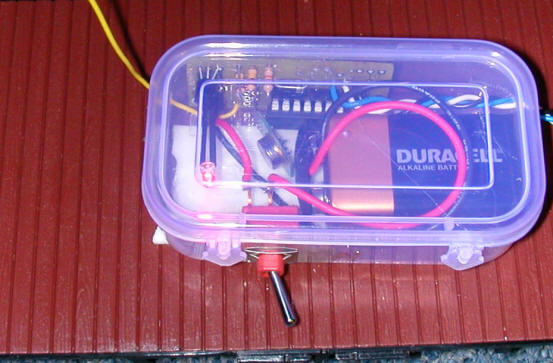
Power is supplied to the on-board unit by a standard 9 volt battery which will
fit into the controller box. Under normal temperature conditions the
battery should be good for 16 - 20 hours of continuous operation.
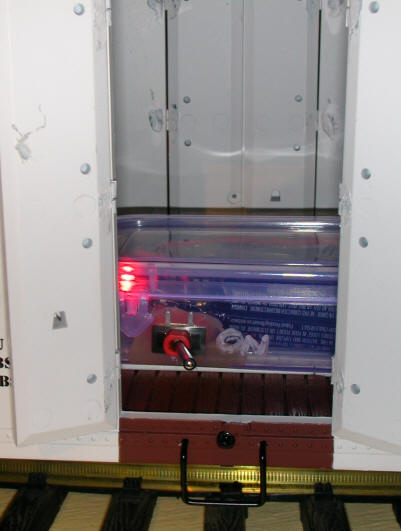
There is an on/off switch that is accessible through the boxcar door as well as
a power LED that lights when the unit is on.
The battery can be replaced without removing the boxcar body by working through the boxcar door. Just flip open the two latches on the controller box, lift out the battery and replace it. When reinstalling take care to put it in the same position it was in so that it does not damage the controller board and components.
The on-board unit can also be powered from track power or external battery power. A minimum of 6 volts is necessary. The voltage regulators on the unit can work with up to 24 volts. There is plenty of room in the boxcar for 6 or 8 AA NiCad or NiMh cells that would be able to power the transmitter for days & days! |
|
Note: On the wired version of the MSTS you use the two IR sensors to adjust scale and other features. On the wireless version there are two additional buttons (the ones together on the left in this photo) to make adjustments. |
|
|
|
|